A TPO Roofing Project in Morning View, Kentucky
A roofing installation involves much more than the finished surface. Proper preparation, attention to installation details, and the coordination of different roofing materials are all important parts of the process.
The Roofing Medic recently documented a TPO roofing project in Morning View, Kentucky. These original project photographs provide a look at several stages of the installation, from the existing metal roofing surface and mechanically fastened boards to the installation of white TPO roofing membrane.
The photographs offer property owners an opportunity to see the work involved in a roofing project rather than only viewing the completed result.
Project Overview
Stage 1: Existing Metal Roof and Project Preparation
The project photographs show sections of an existing ribbed metal roof alongside areas where roofing boards were being installed. These images help illustrate the starting conditions visible during the project, including perimeter wood blocking, metal roof panel condition, and the progression of the work.
Note: The precise reason for the roofing work and the full underlying roof assembly have not been provided.
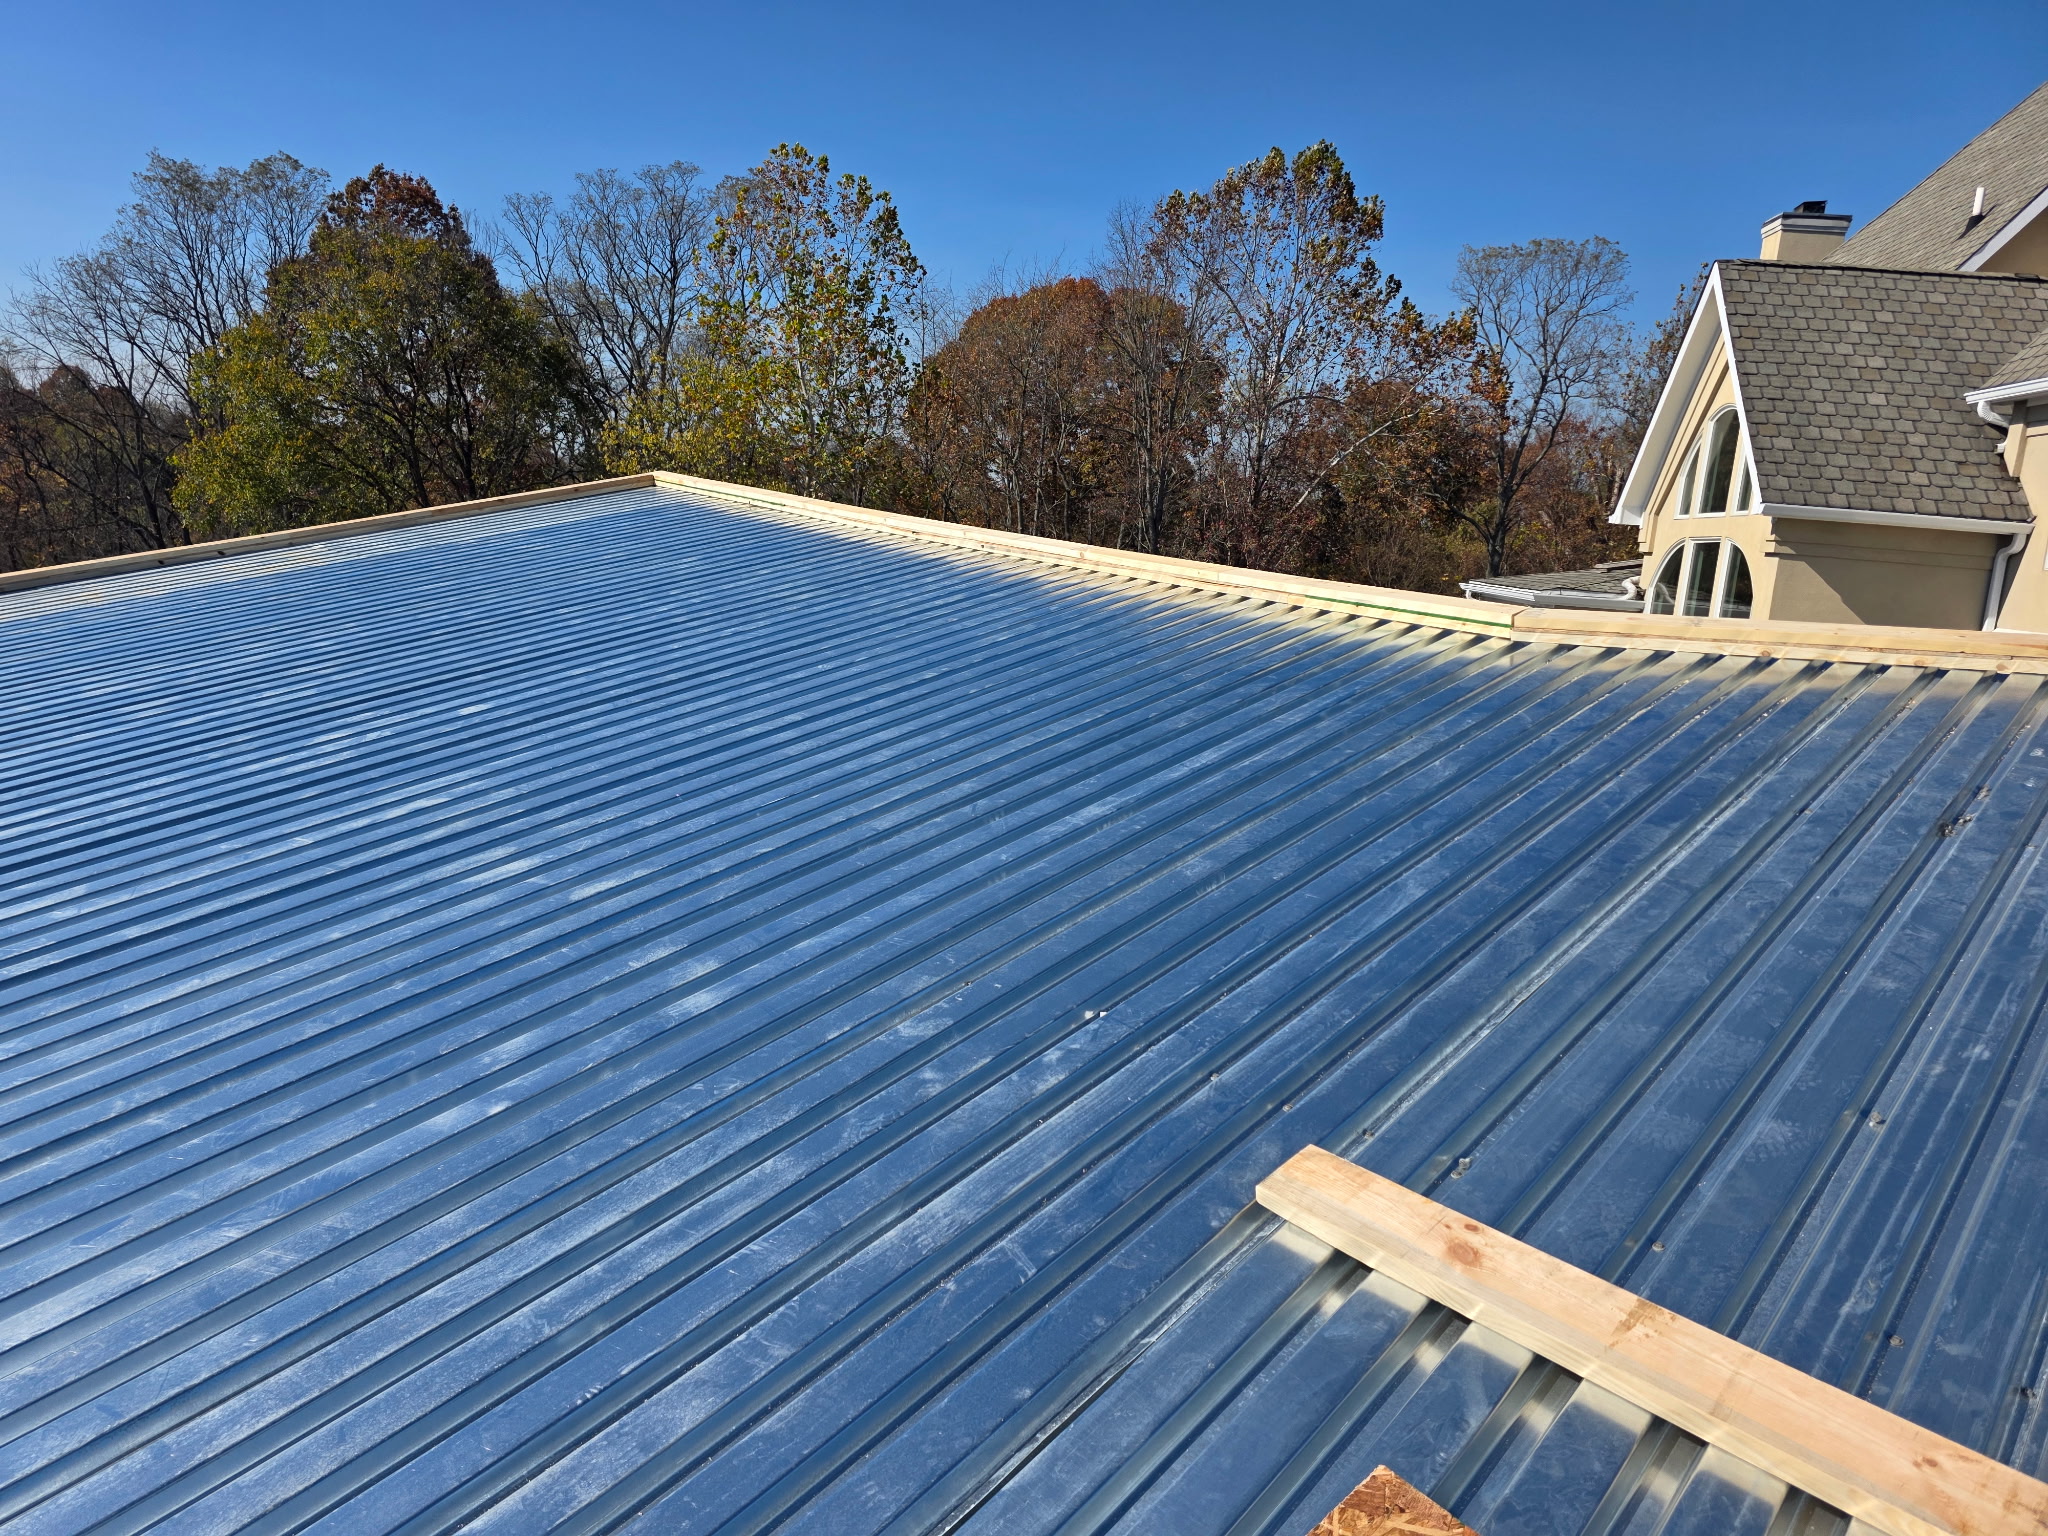
Clean Ribbed Metal Roof Deck & Perimeter Wood Nailers
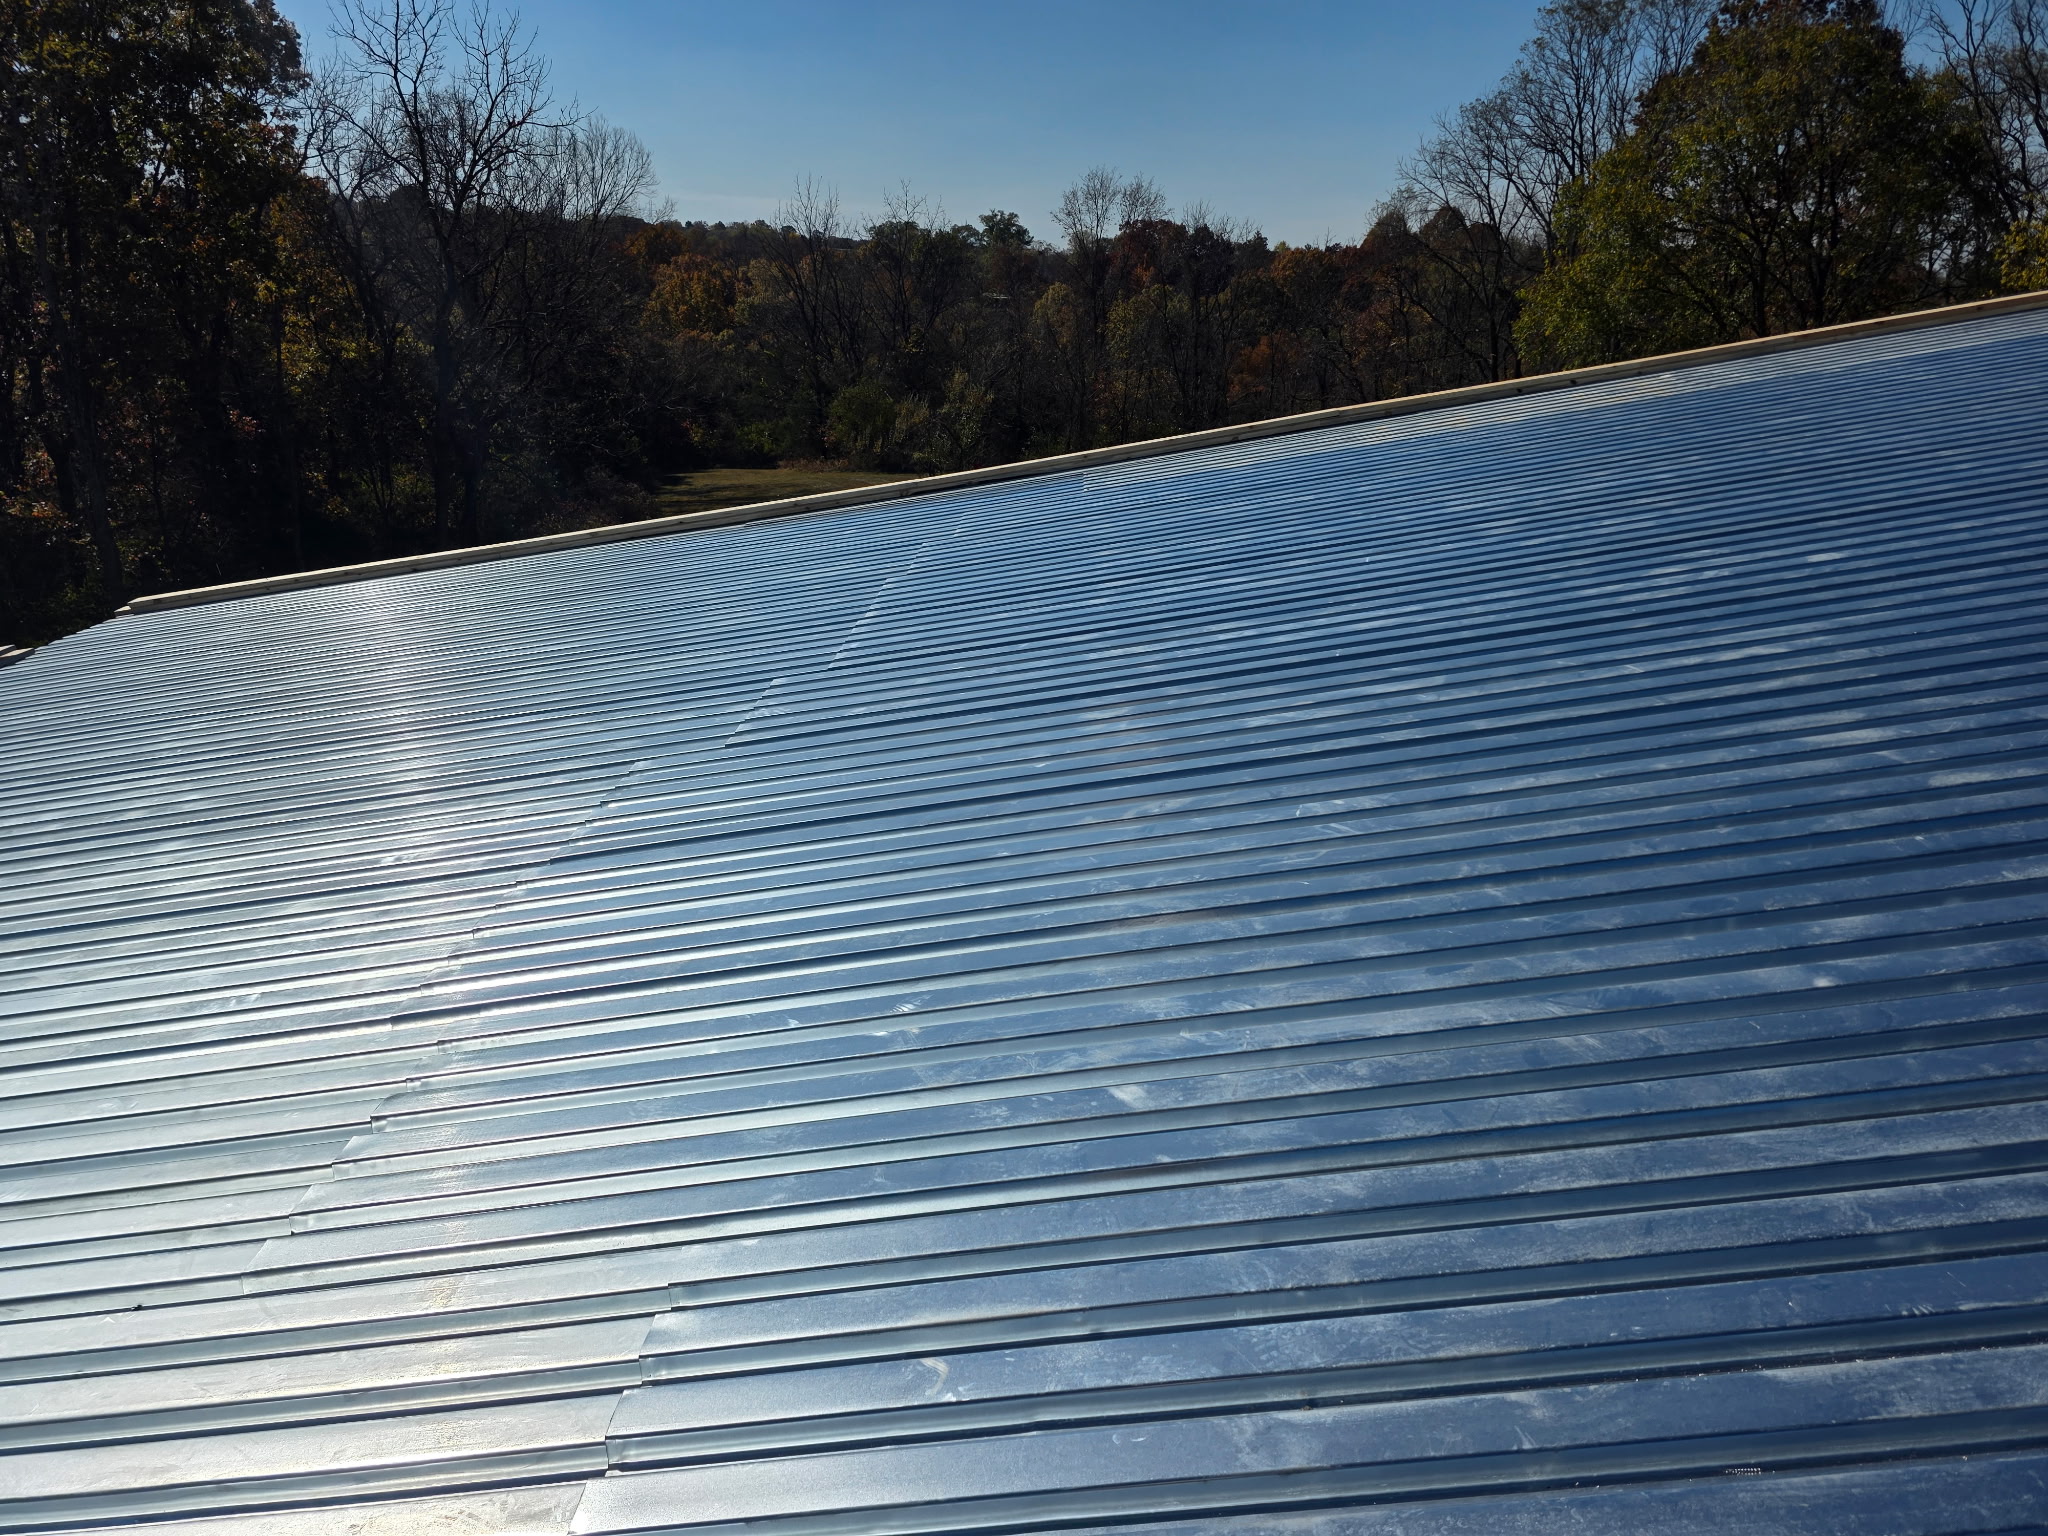
Ribbed Metal Roof Field & Edge Nailer Line
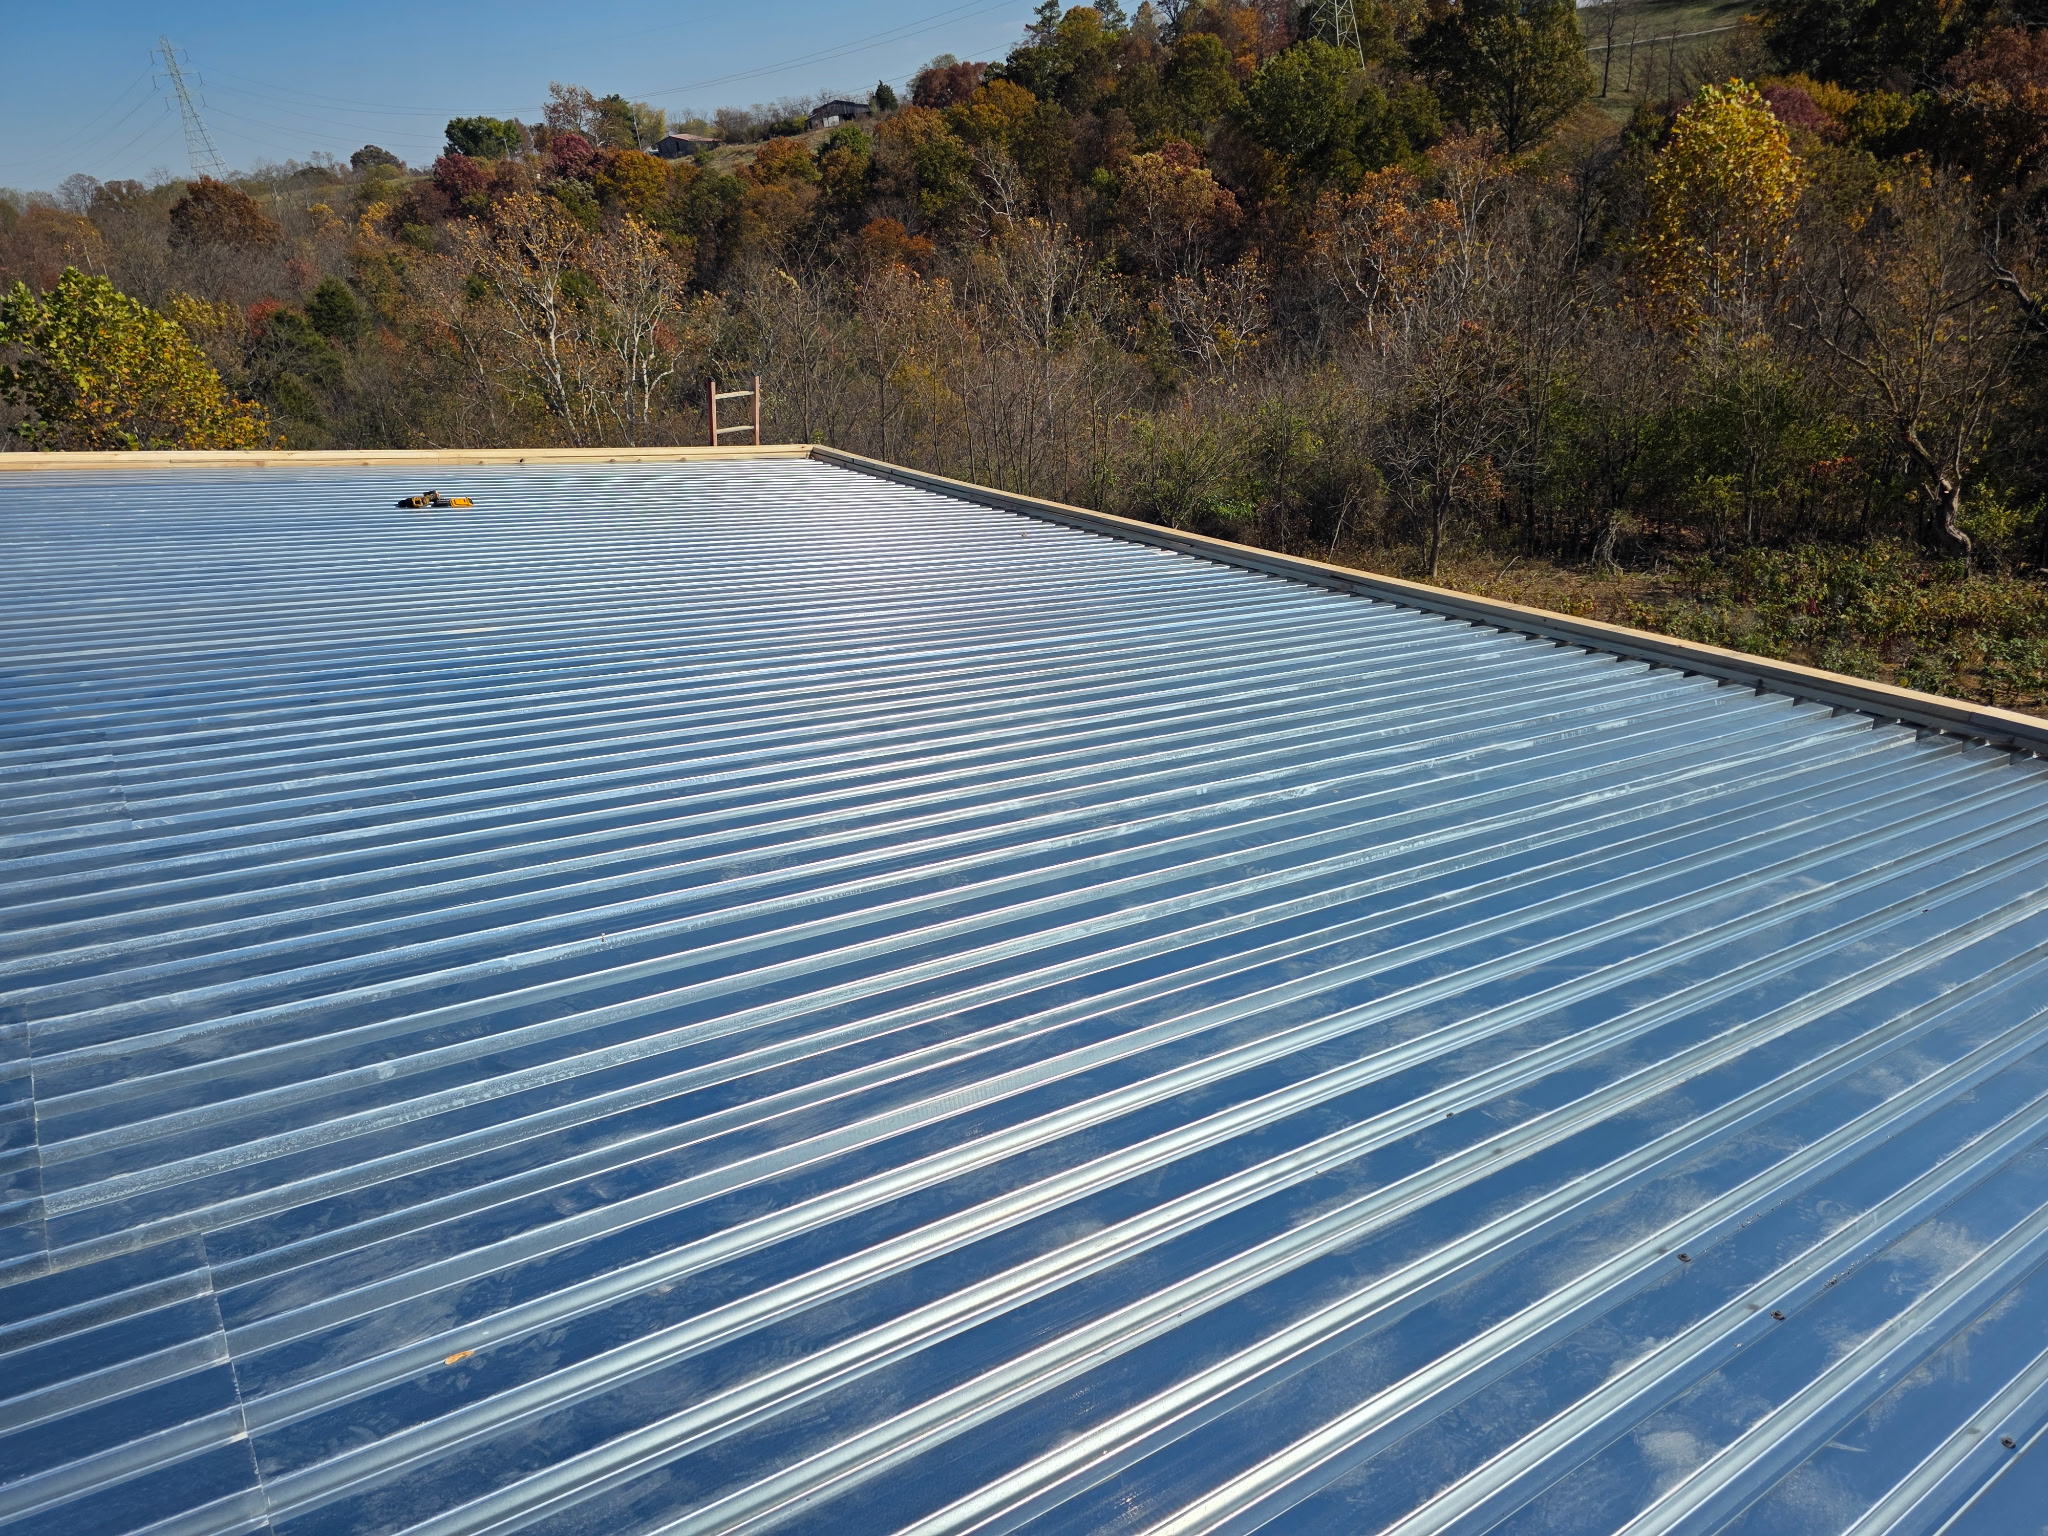
Full Ribbed Metal Surface & Horizon View
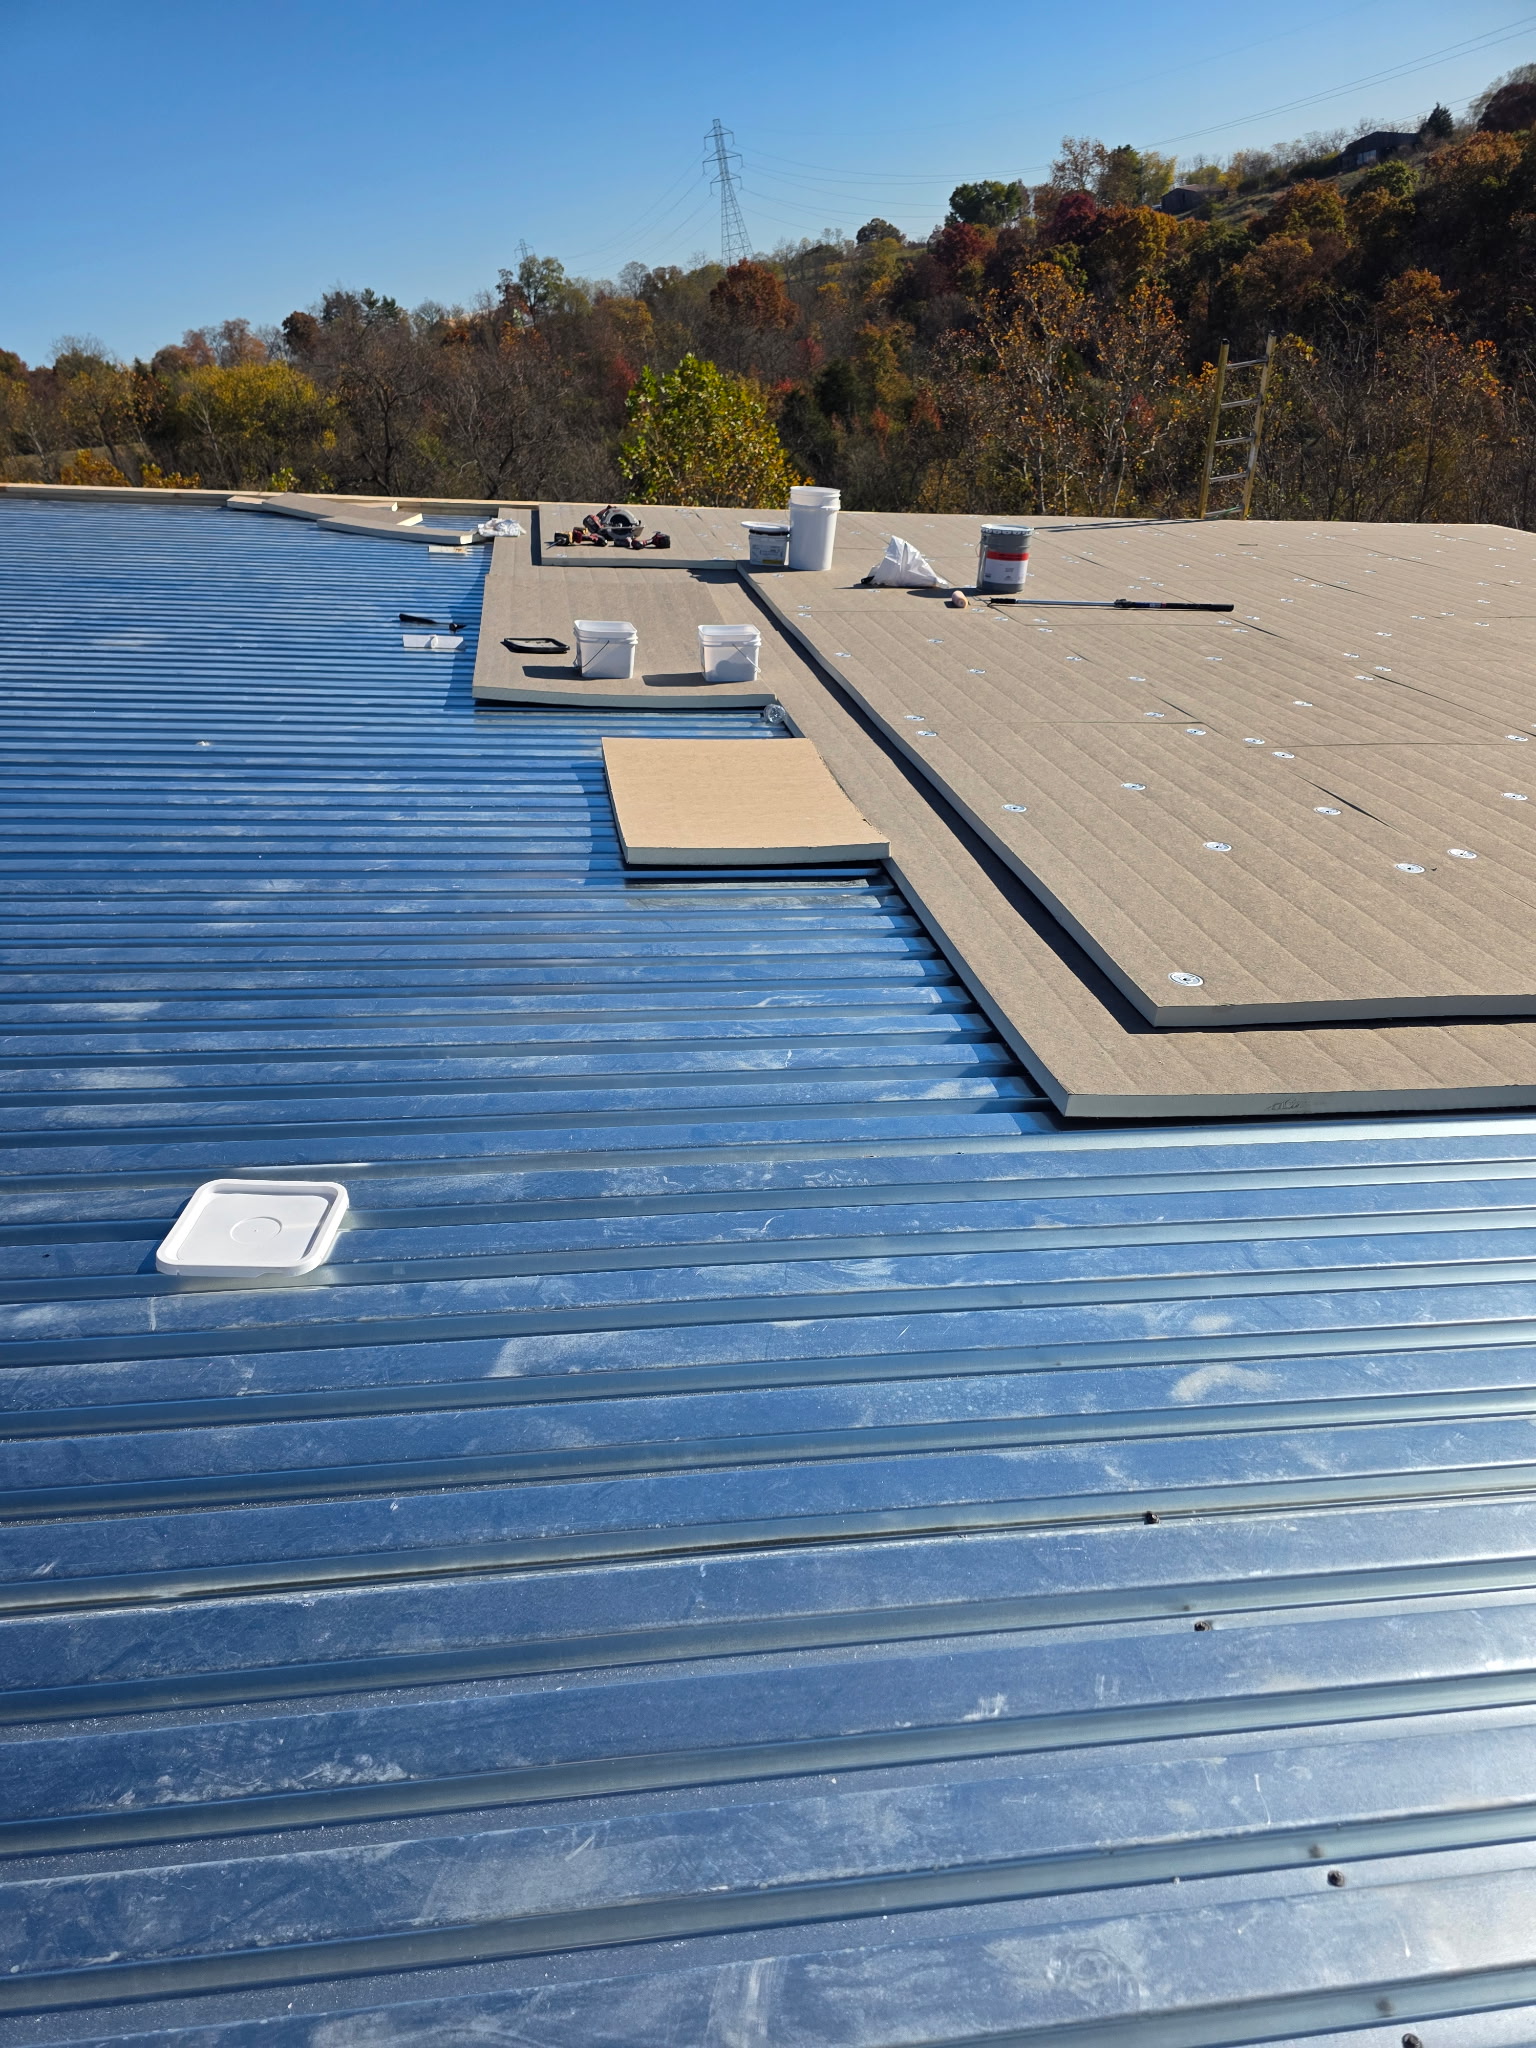
Ribbed Metal Roof & Initial Board Layout
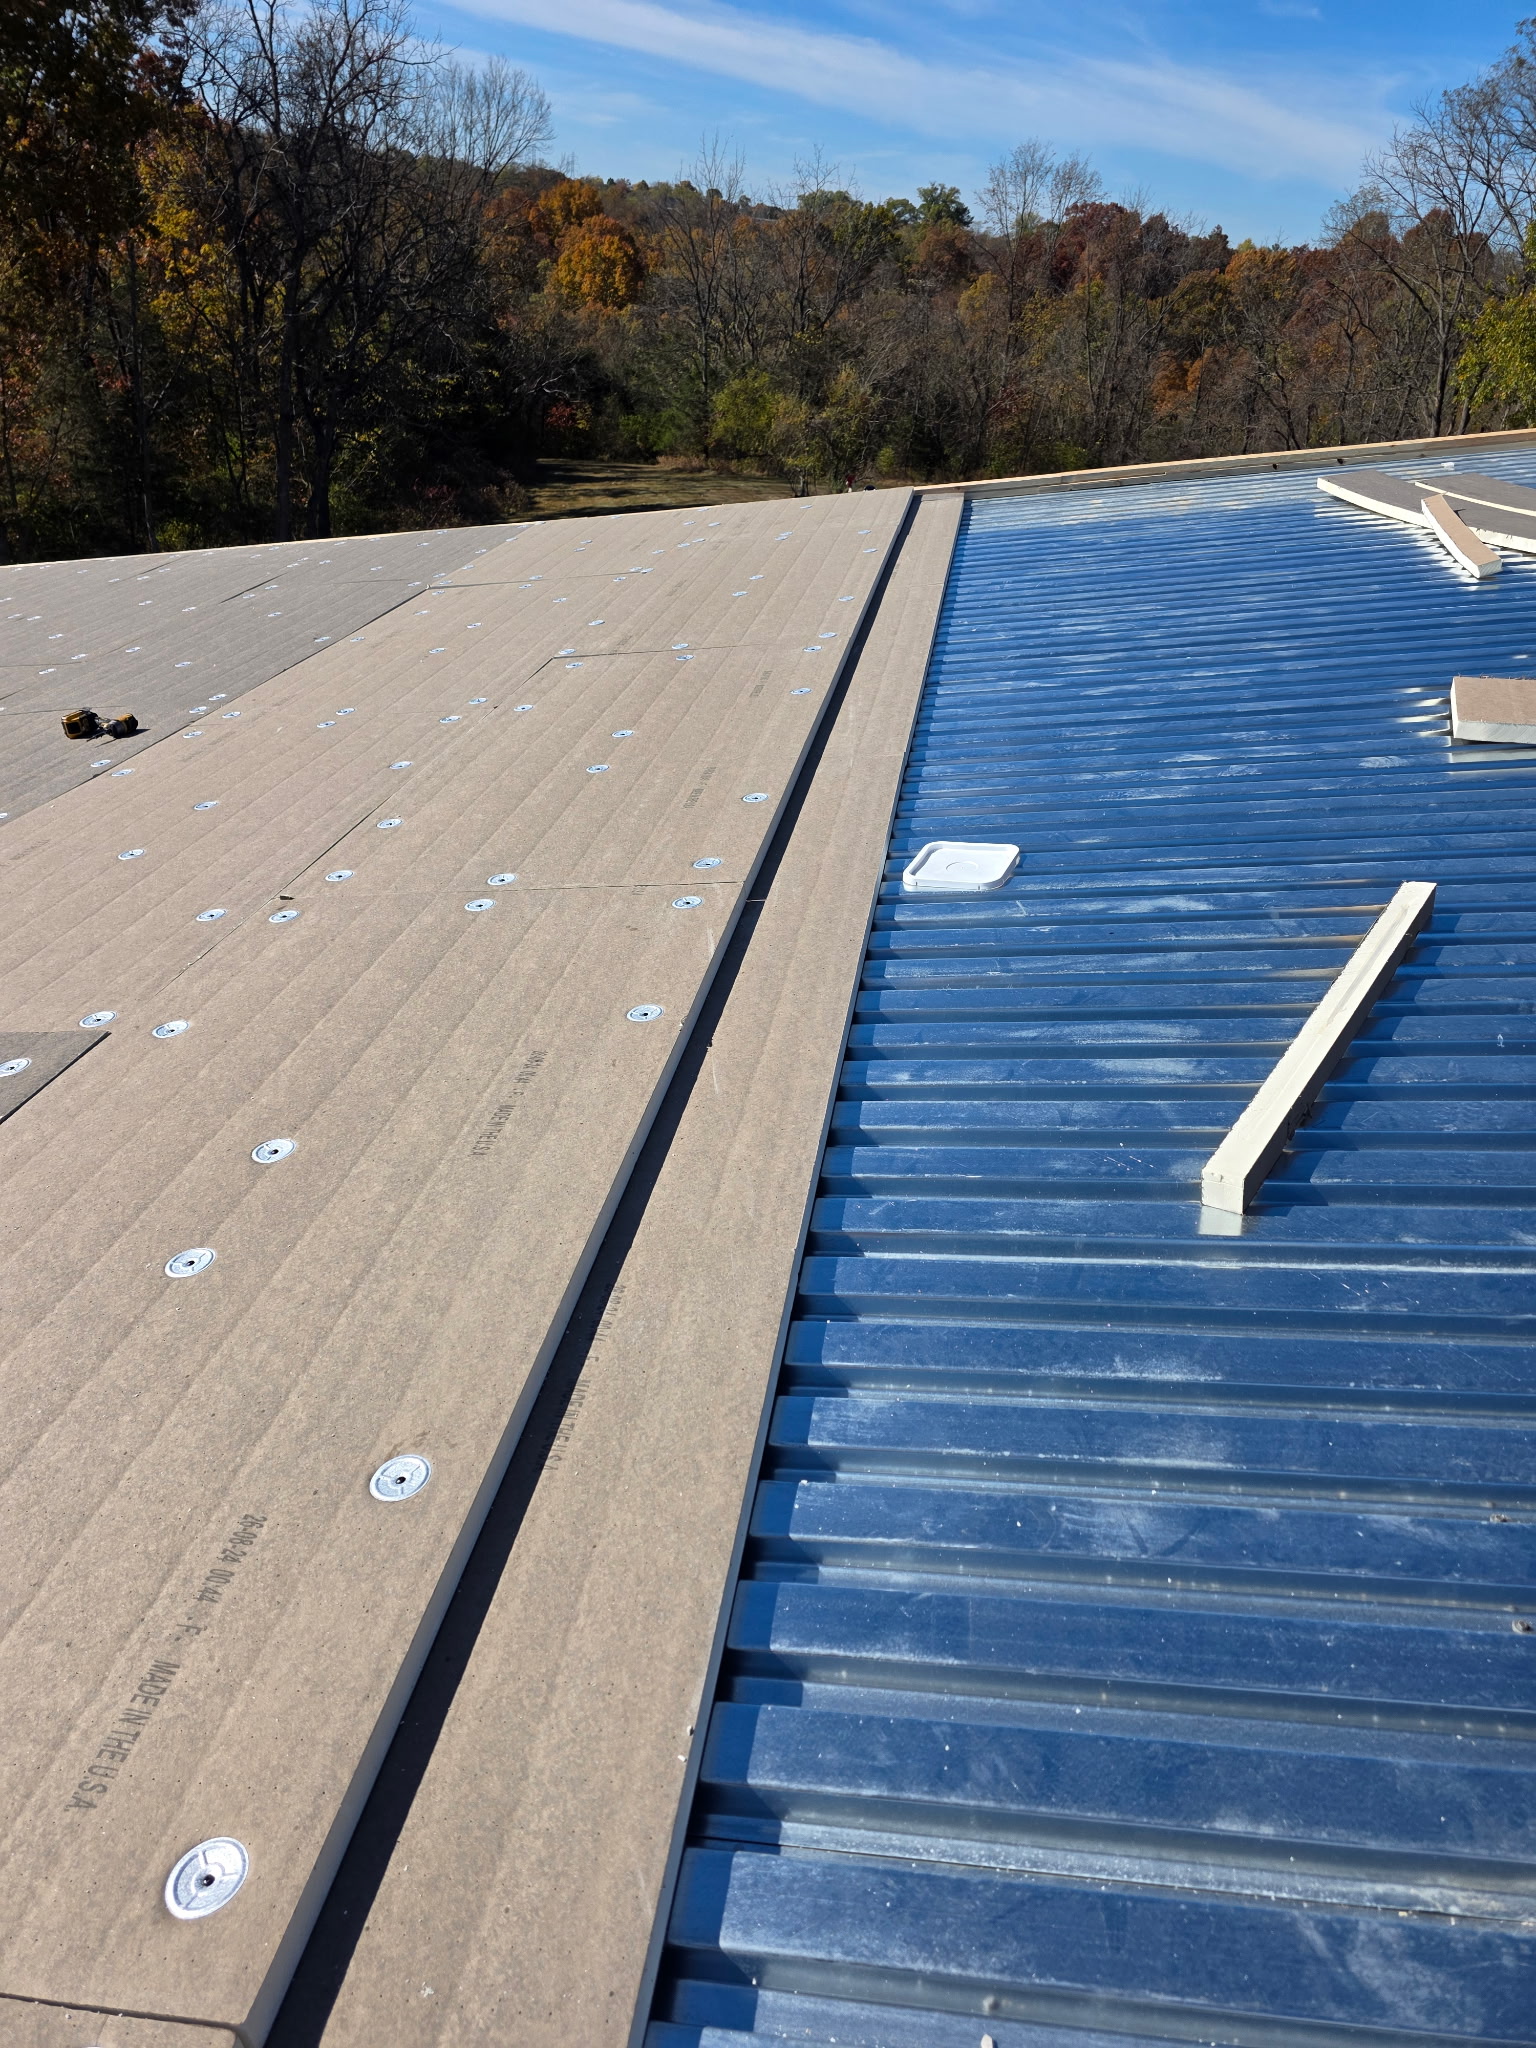
Transition Between Metal Roof & Insulation Layer
Stage 2: Roofing Board Installation and Mechanical Fastening
Additional photographs document roofing boards secured using circular fastening plates. The fastening pattern and progression of the board installation are visible across multiple roof sections.
Note: The exact board material, thickness, insulation value, and fastening specifications should be confirmed before those details are included in the published project description.
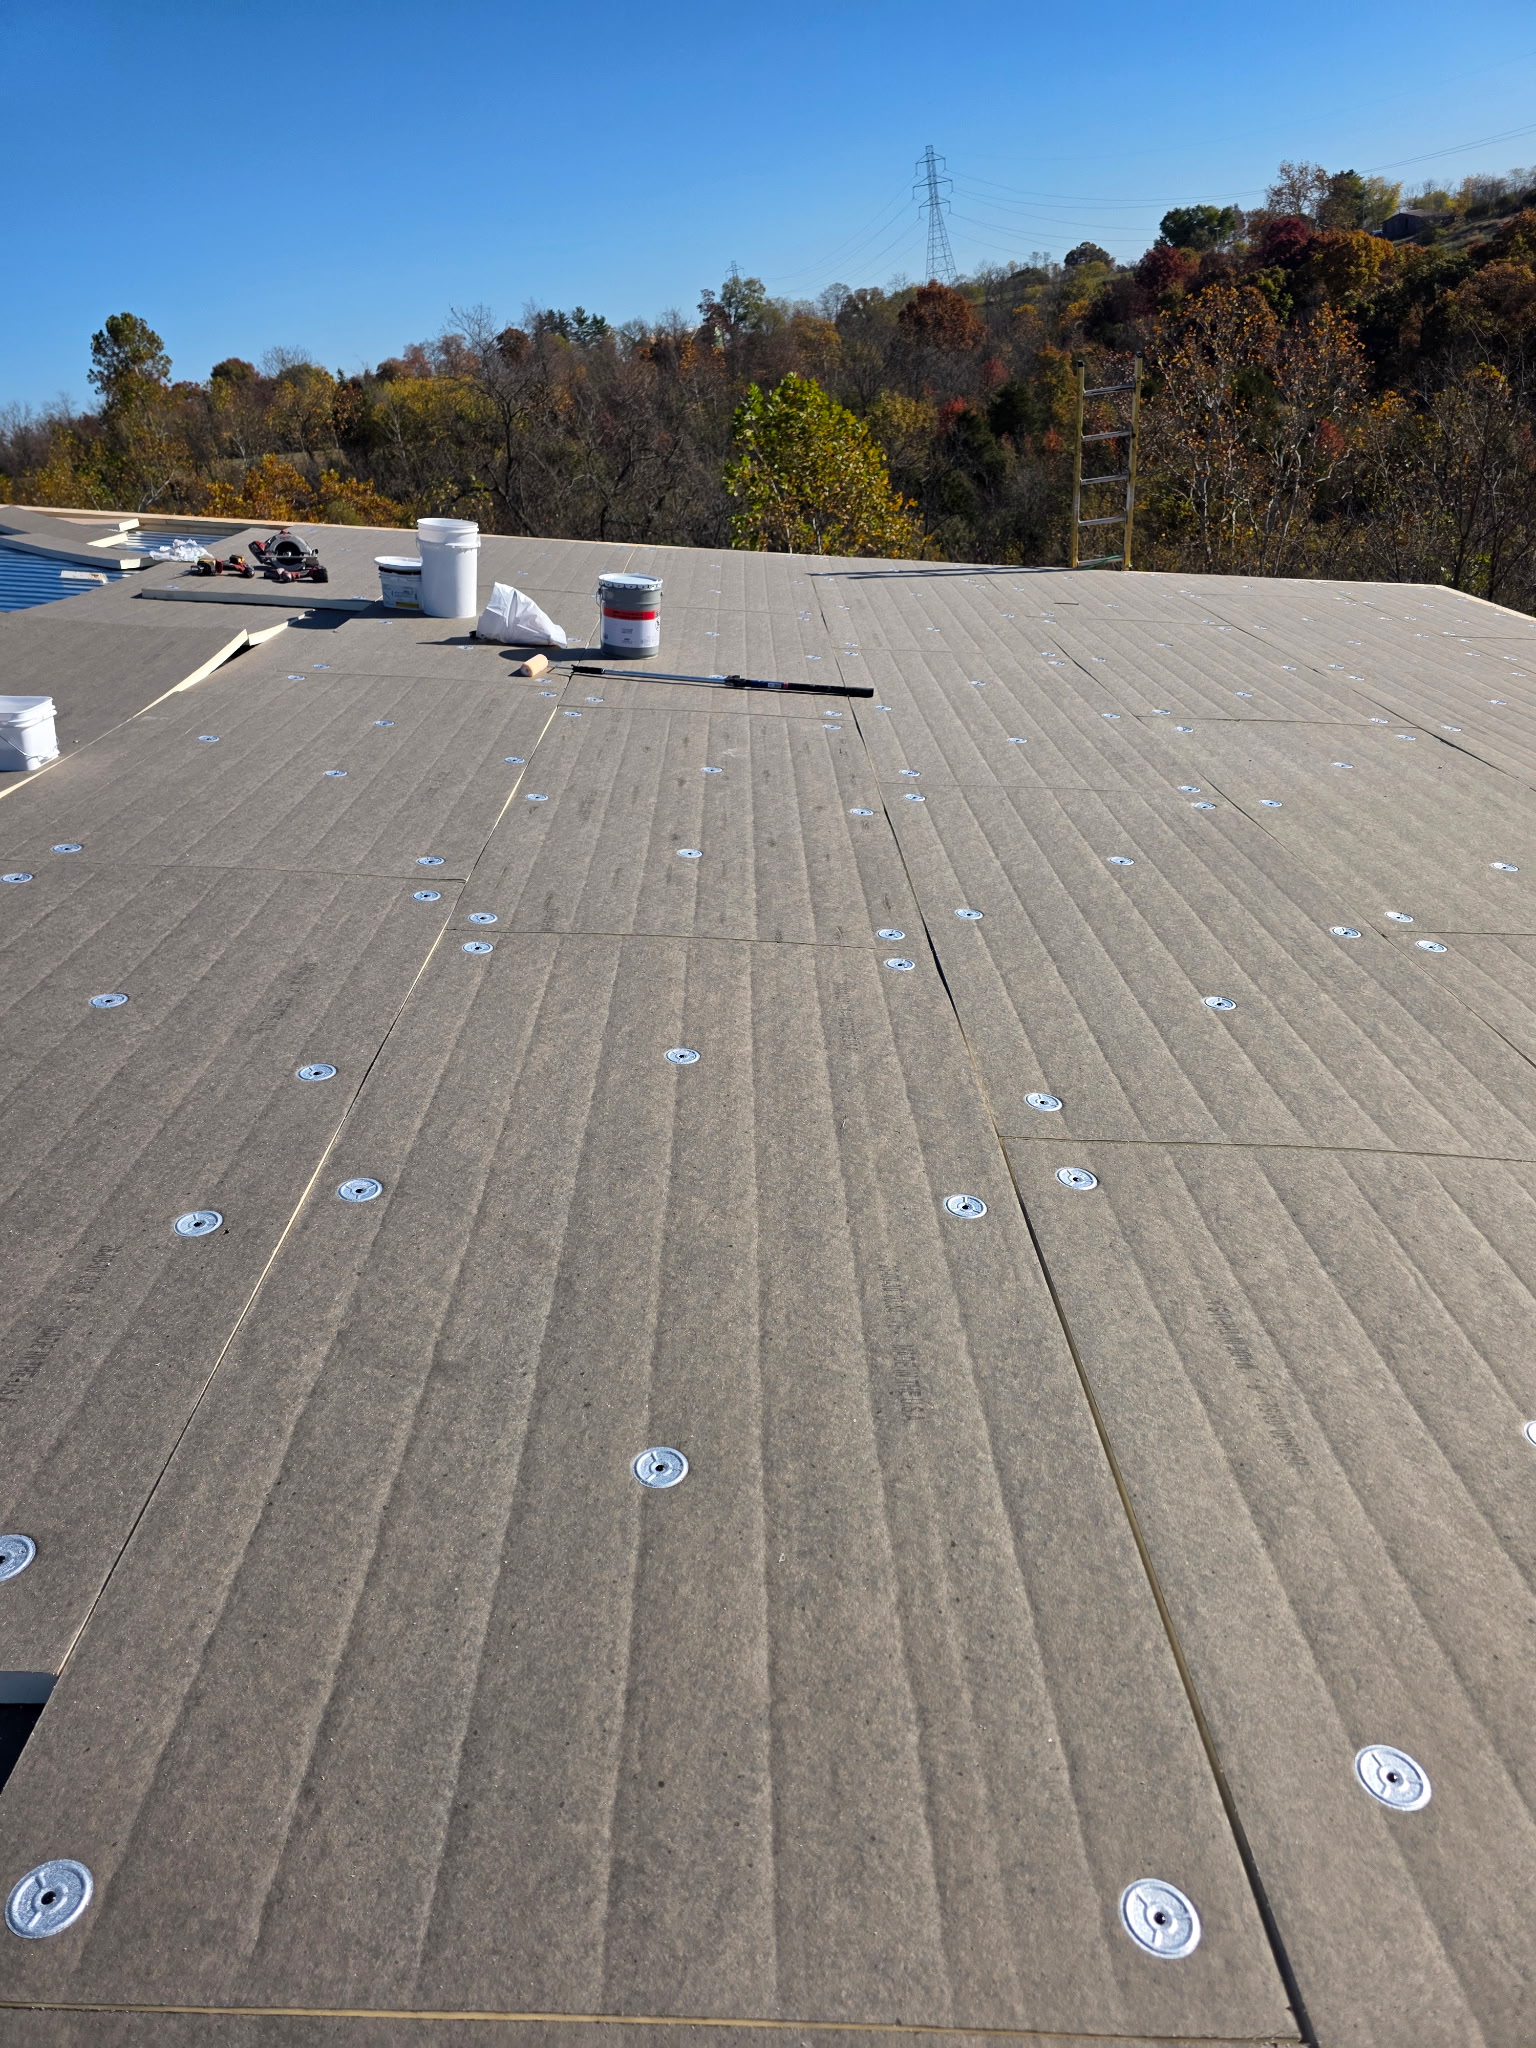
Board Installation Across Roof Deck
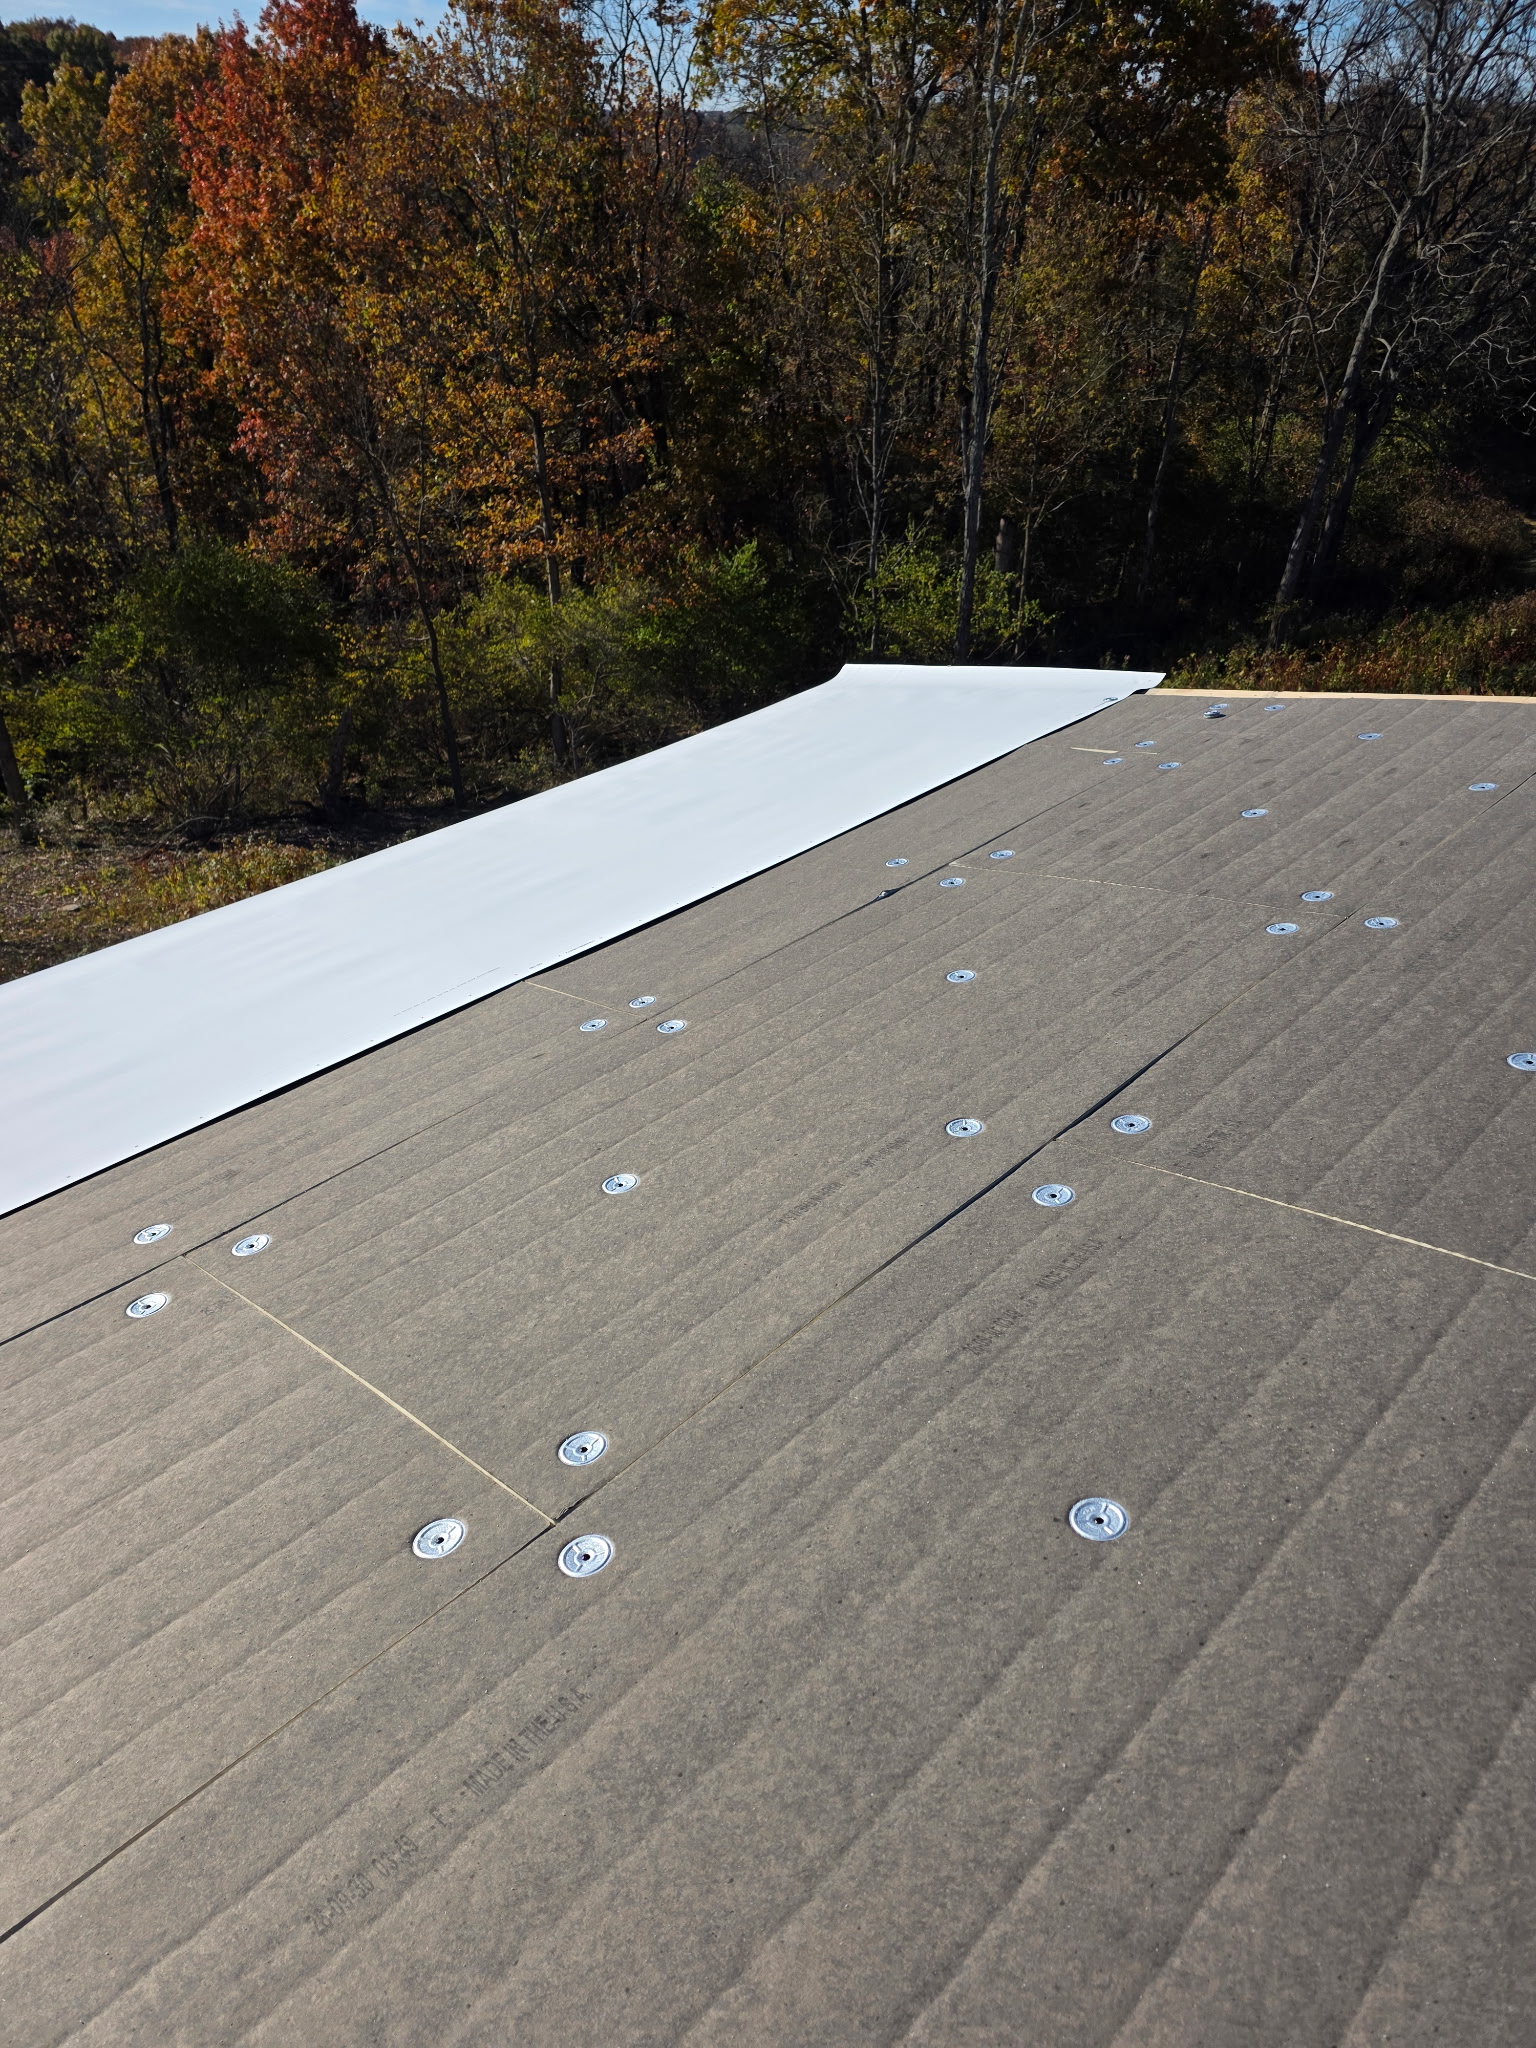
Fastened Board Surface with First TPO Membrane Rollout
Stage 3: TPO Roofing Membrane Installation
The project photographs show white TPO membrane being positioned over prepared roofing sections. Other images capture the membrane installation at different stages, including transitions between exposed boards and membrane-covered areas.
This provides an opportunity to explain how a TPO roofing project progresses through multiple installation steps.
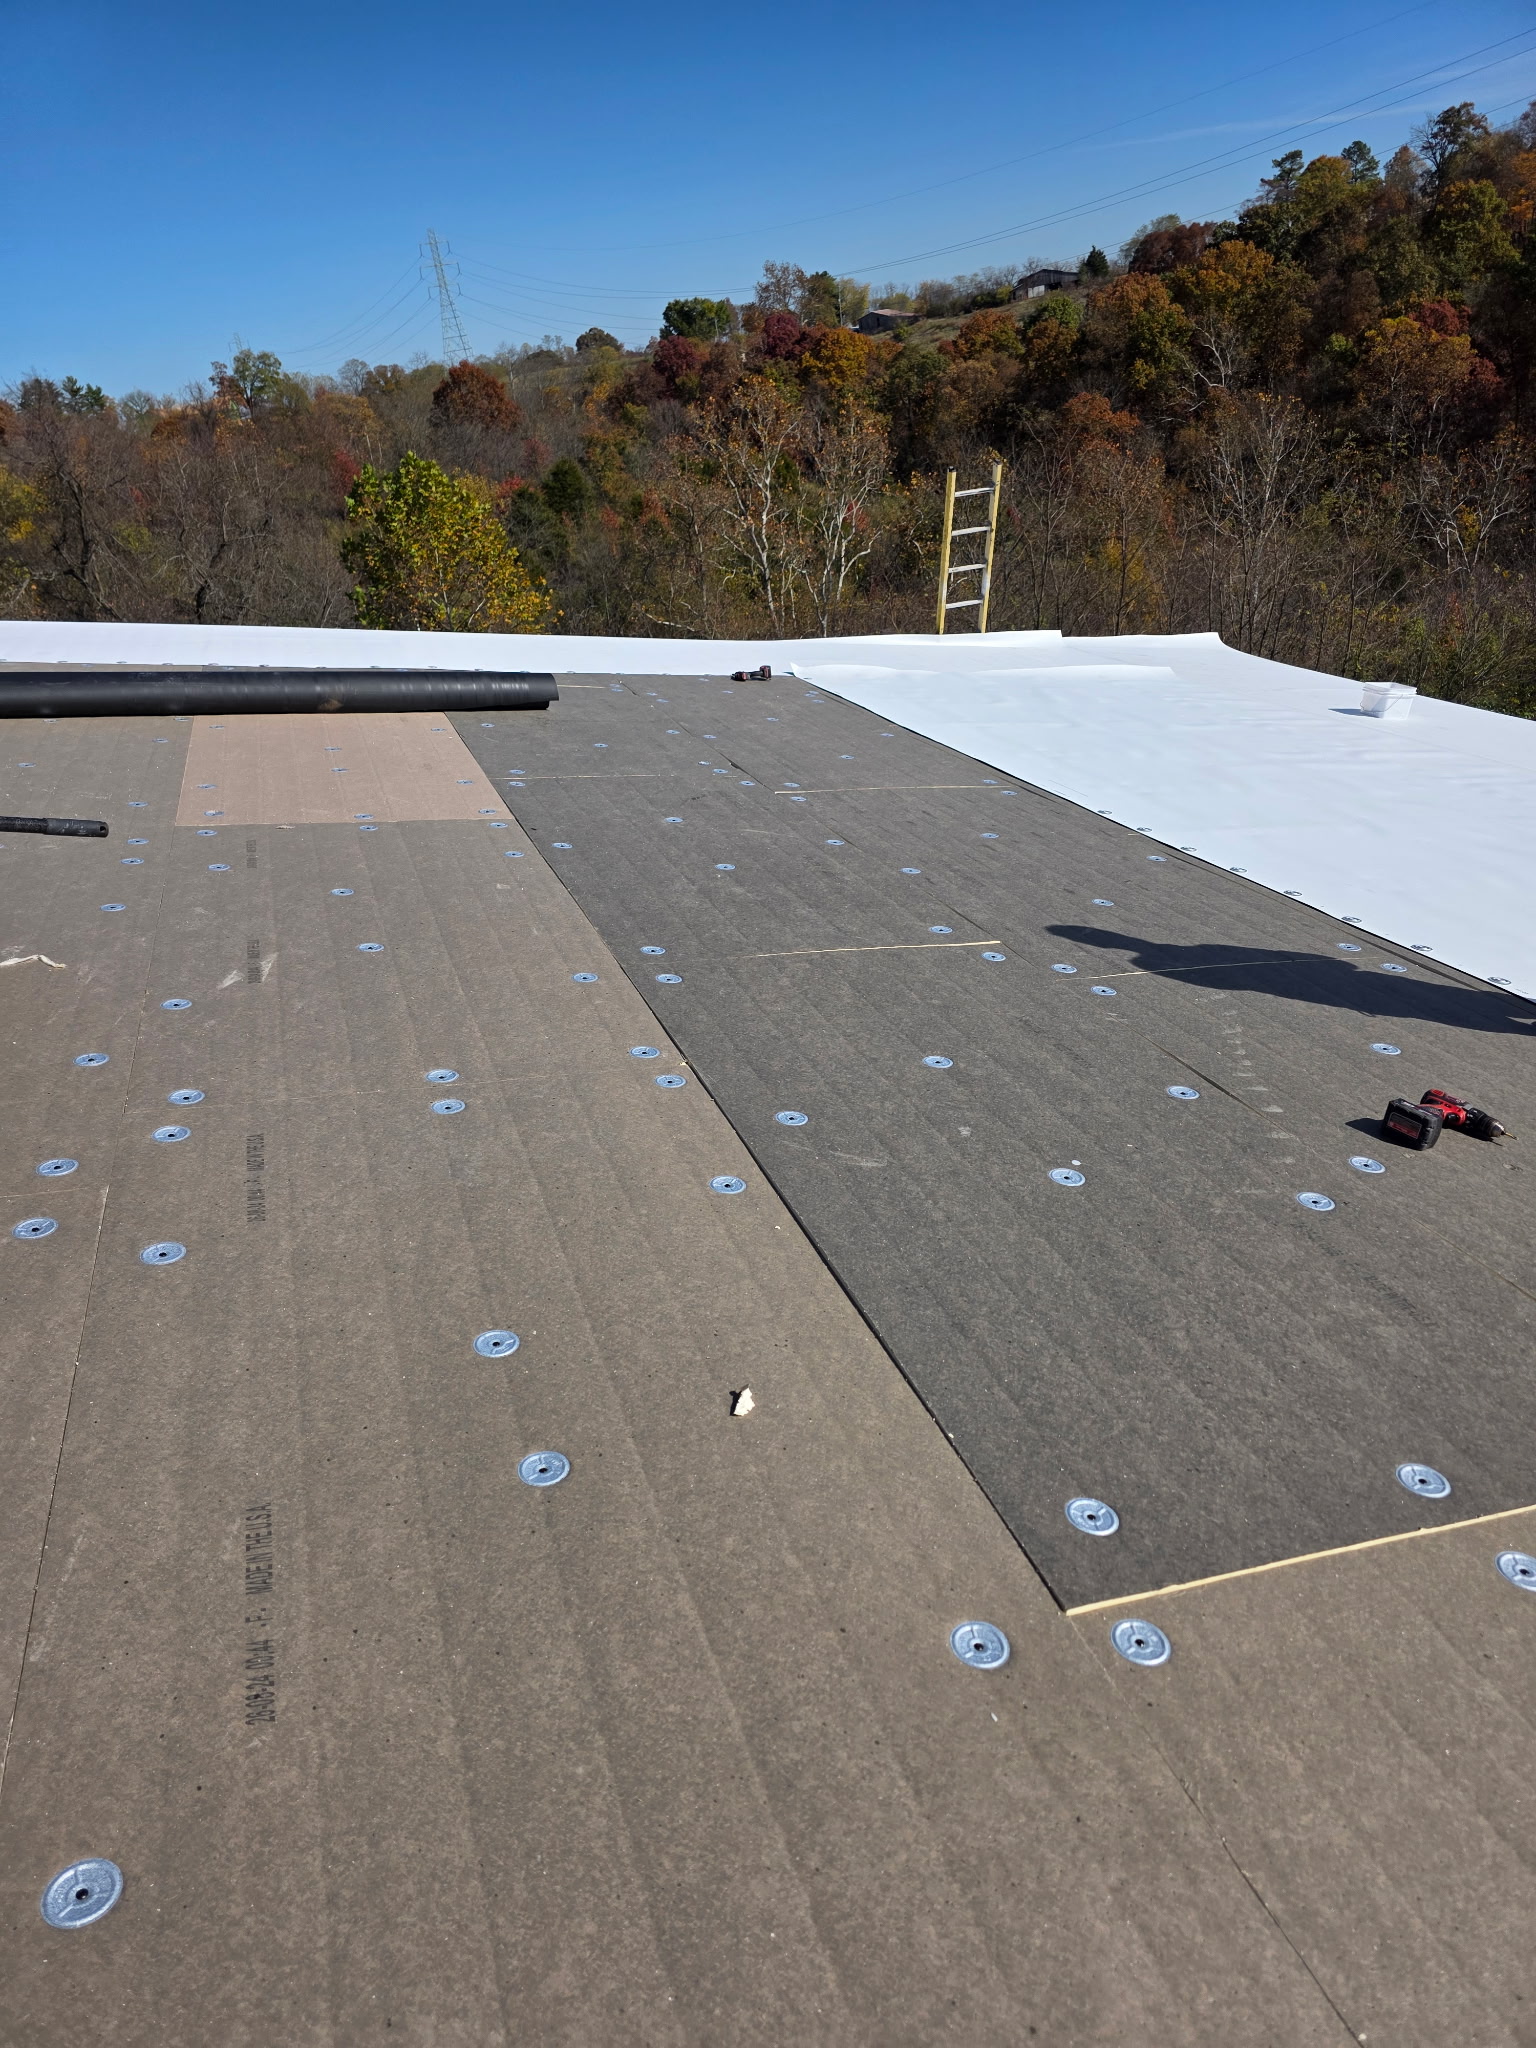
TPO Membrane Rollout Over Fastened Substrate
Stage 4: Installed TPO Roofing Surfaces
Later photographs show broad sections of white TPO membrane covering the roof, with visible membrane seams and installation details. These images illustrate the appearance of the installed roofing surface.
Note: Although the photographs show extensive membrane coverage, final project completion, inspection results, and warranty status have not been independently confirmed.
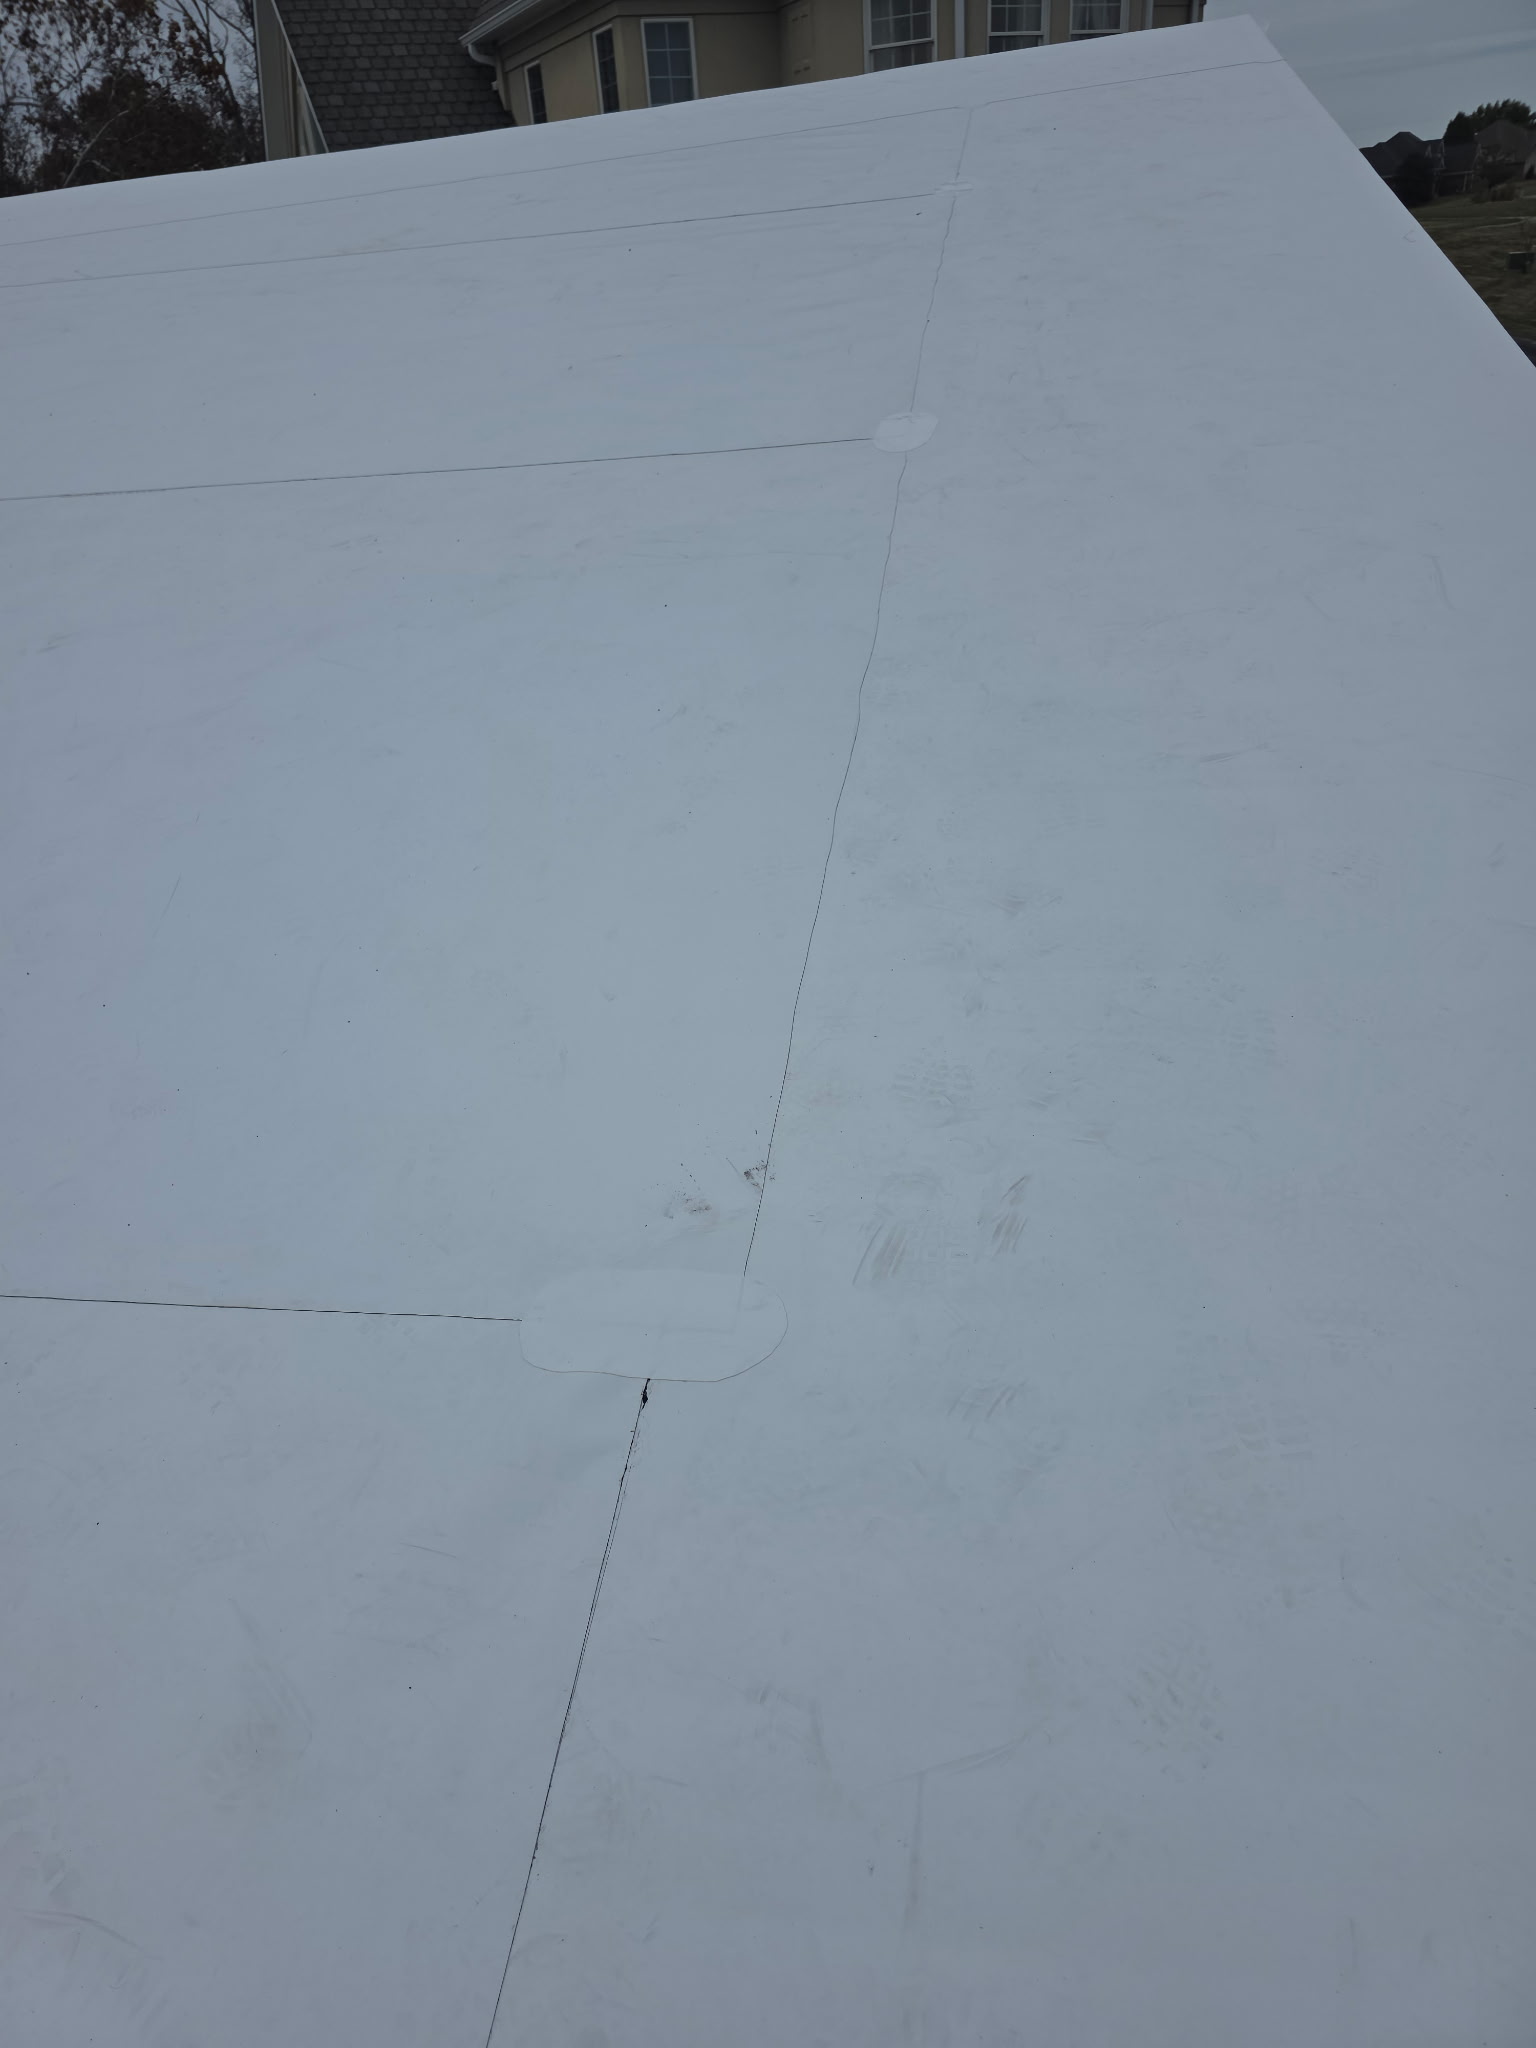
Installed White TPO Membrane Surface
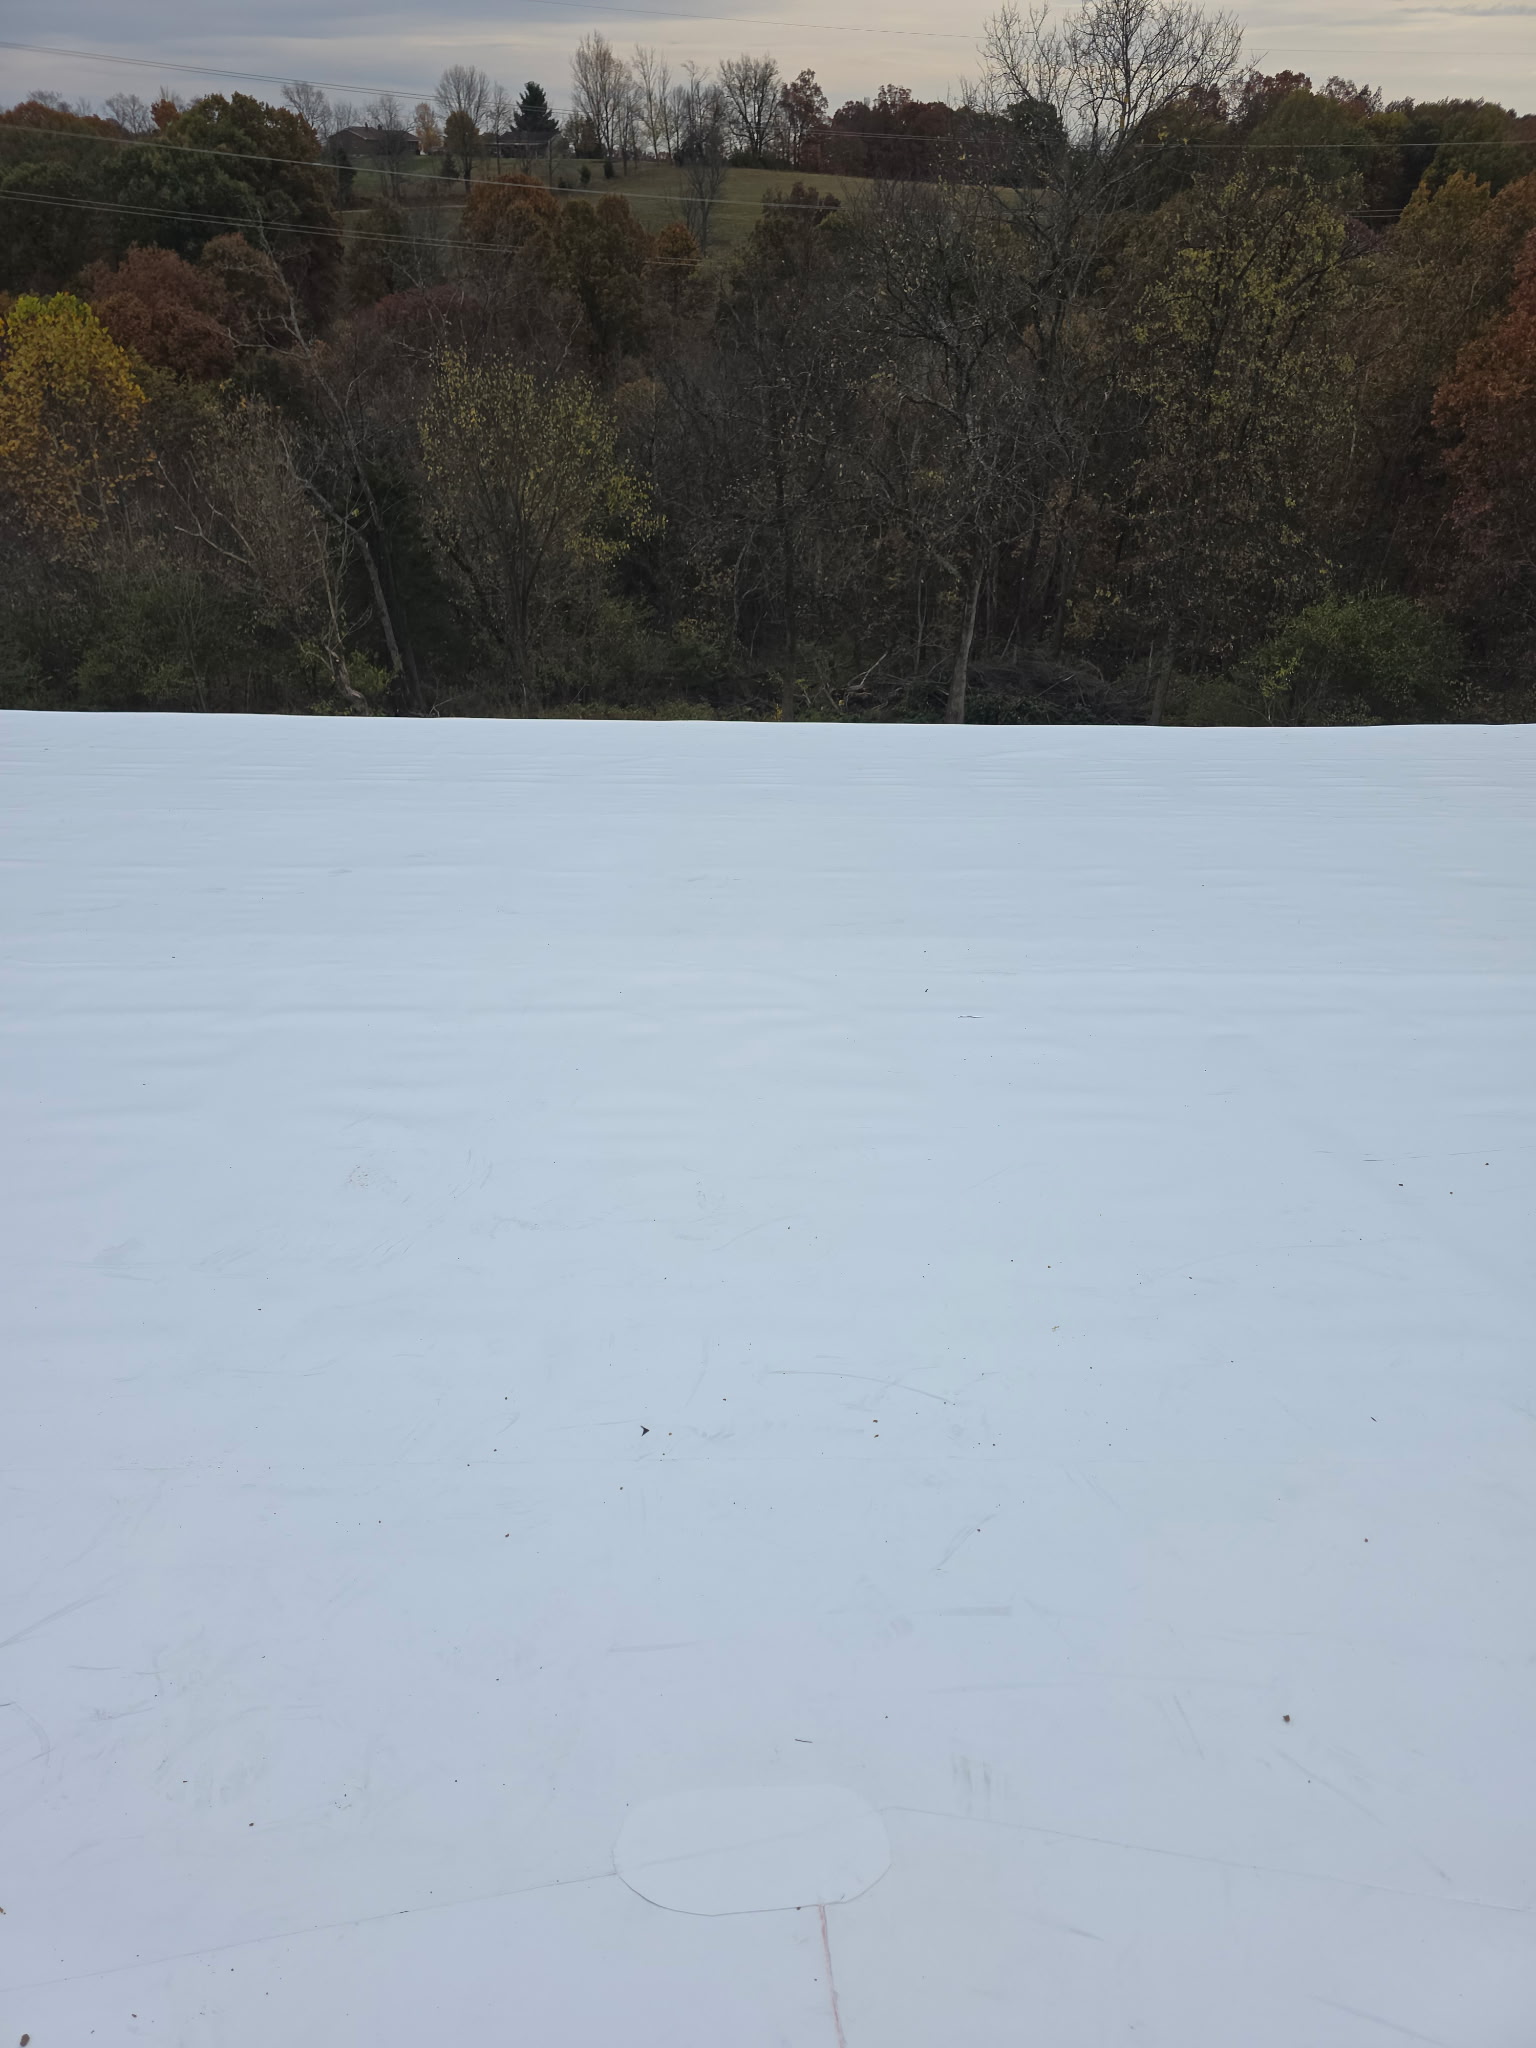
TPO Membrane Field Toward Roof Perimeter
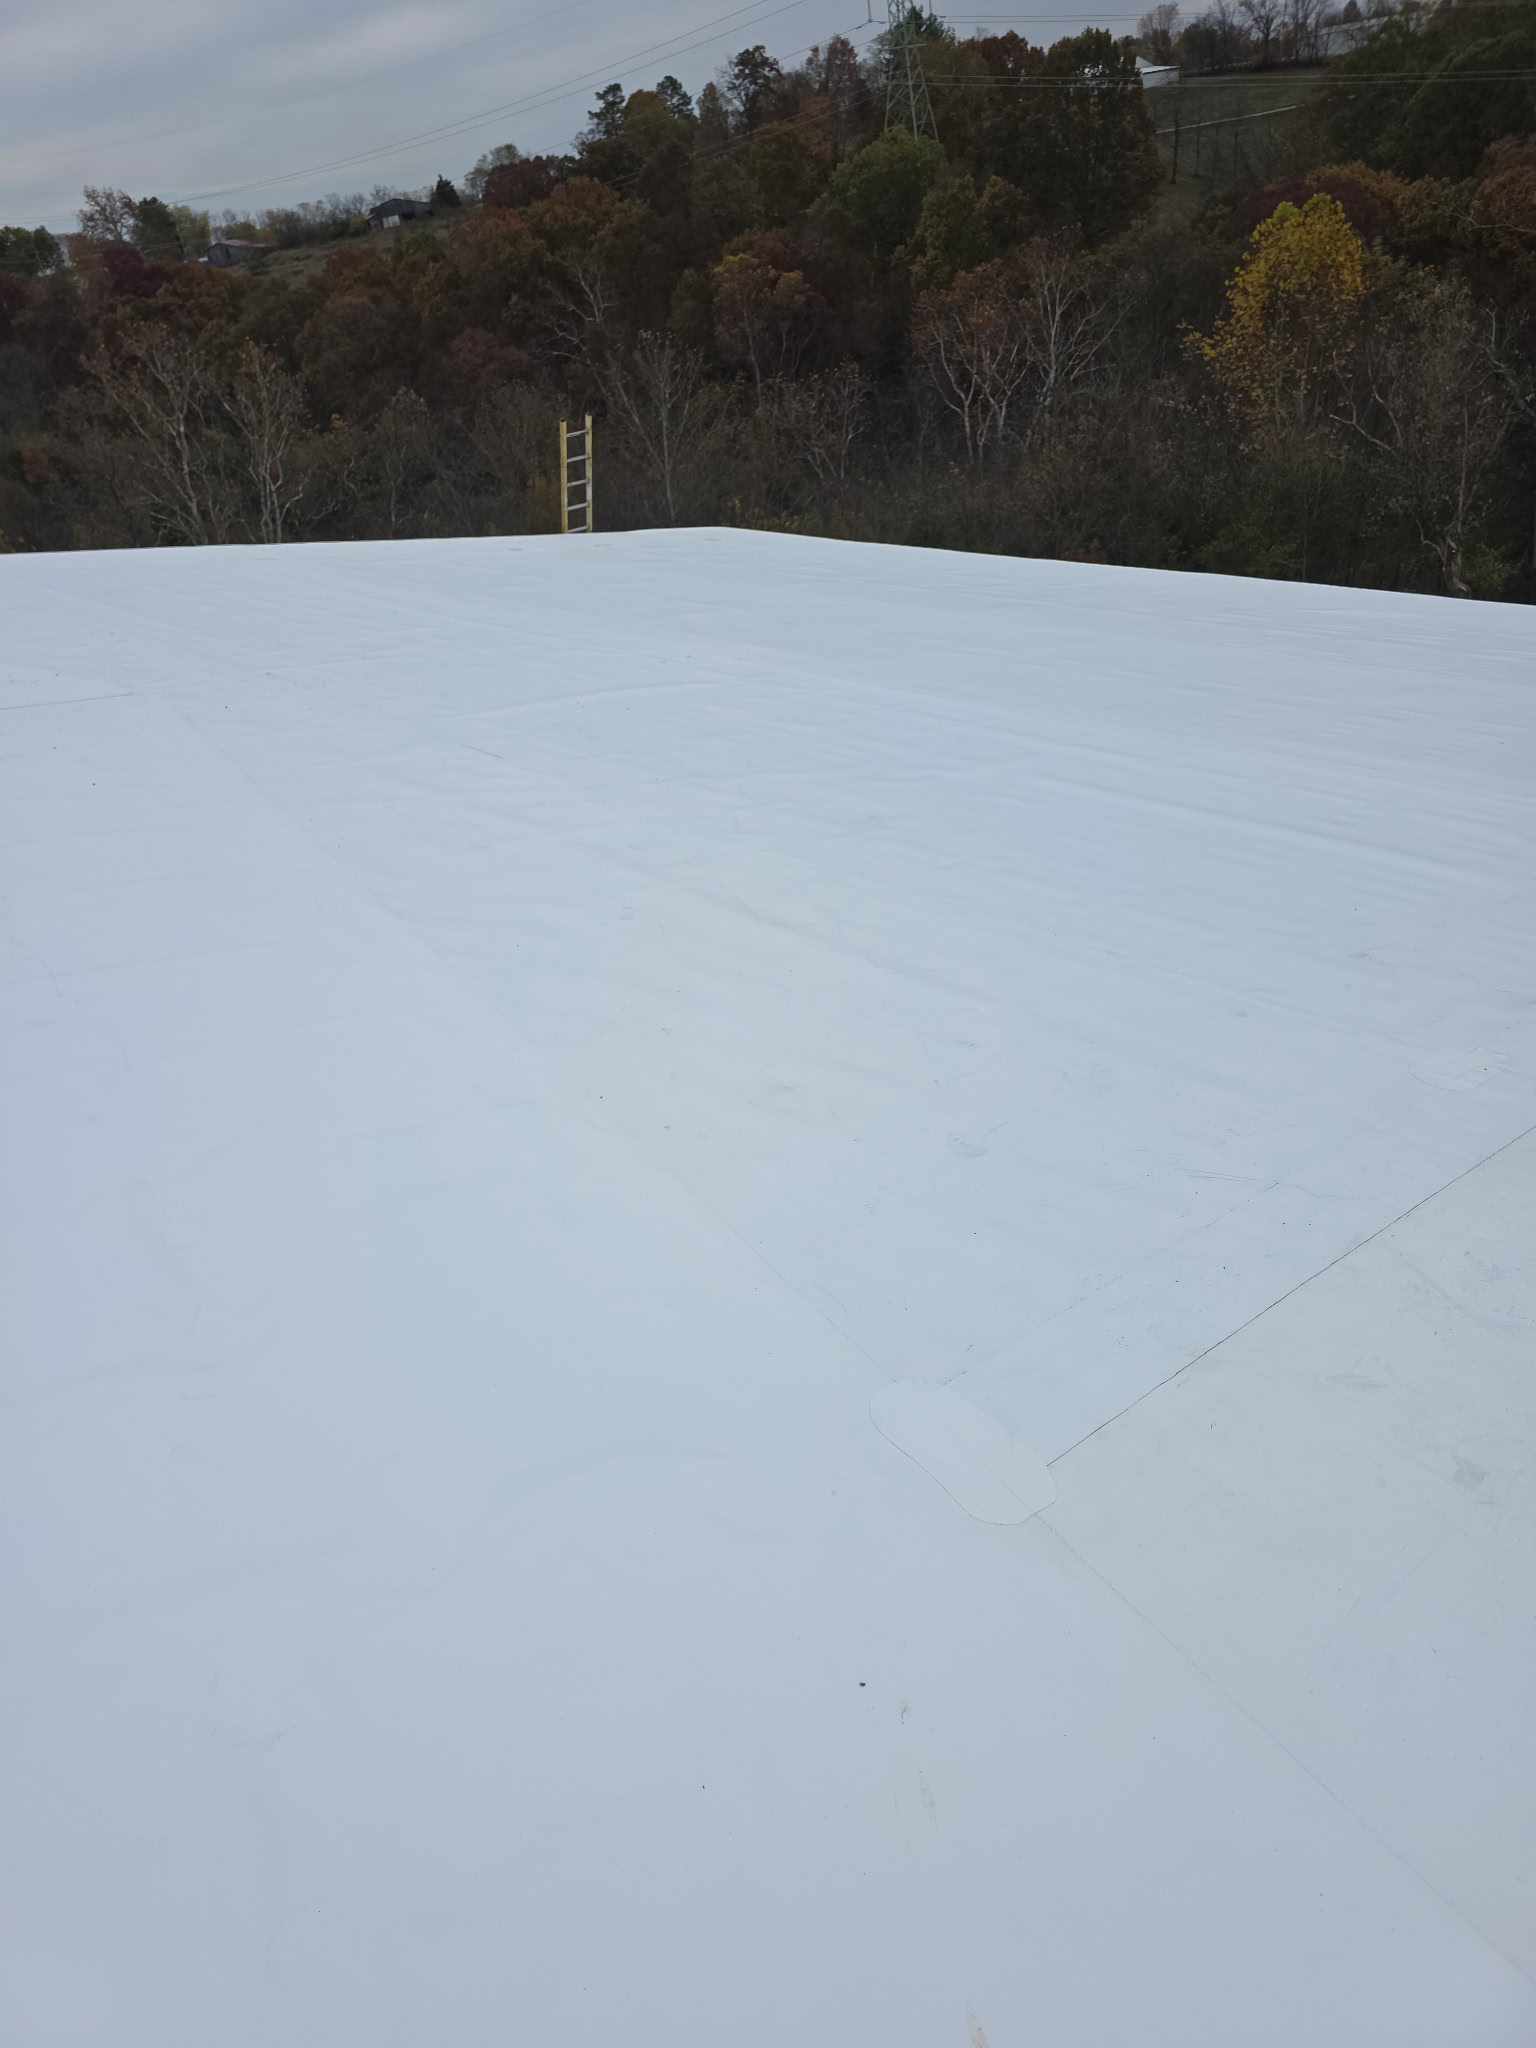
Expansive White Single-Ply Membrane Coverage
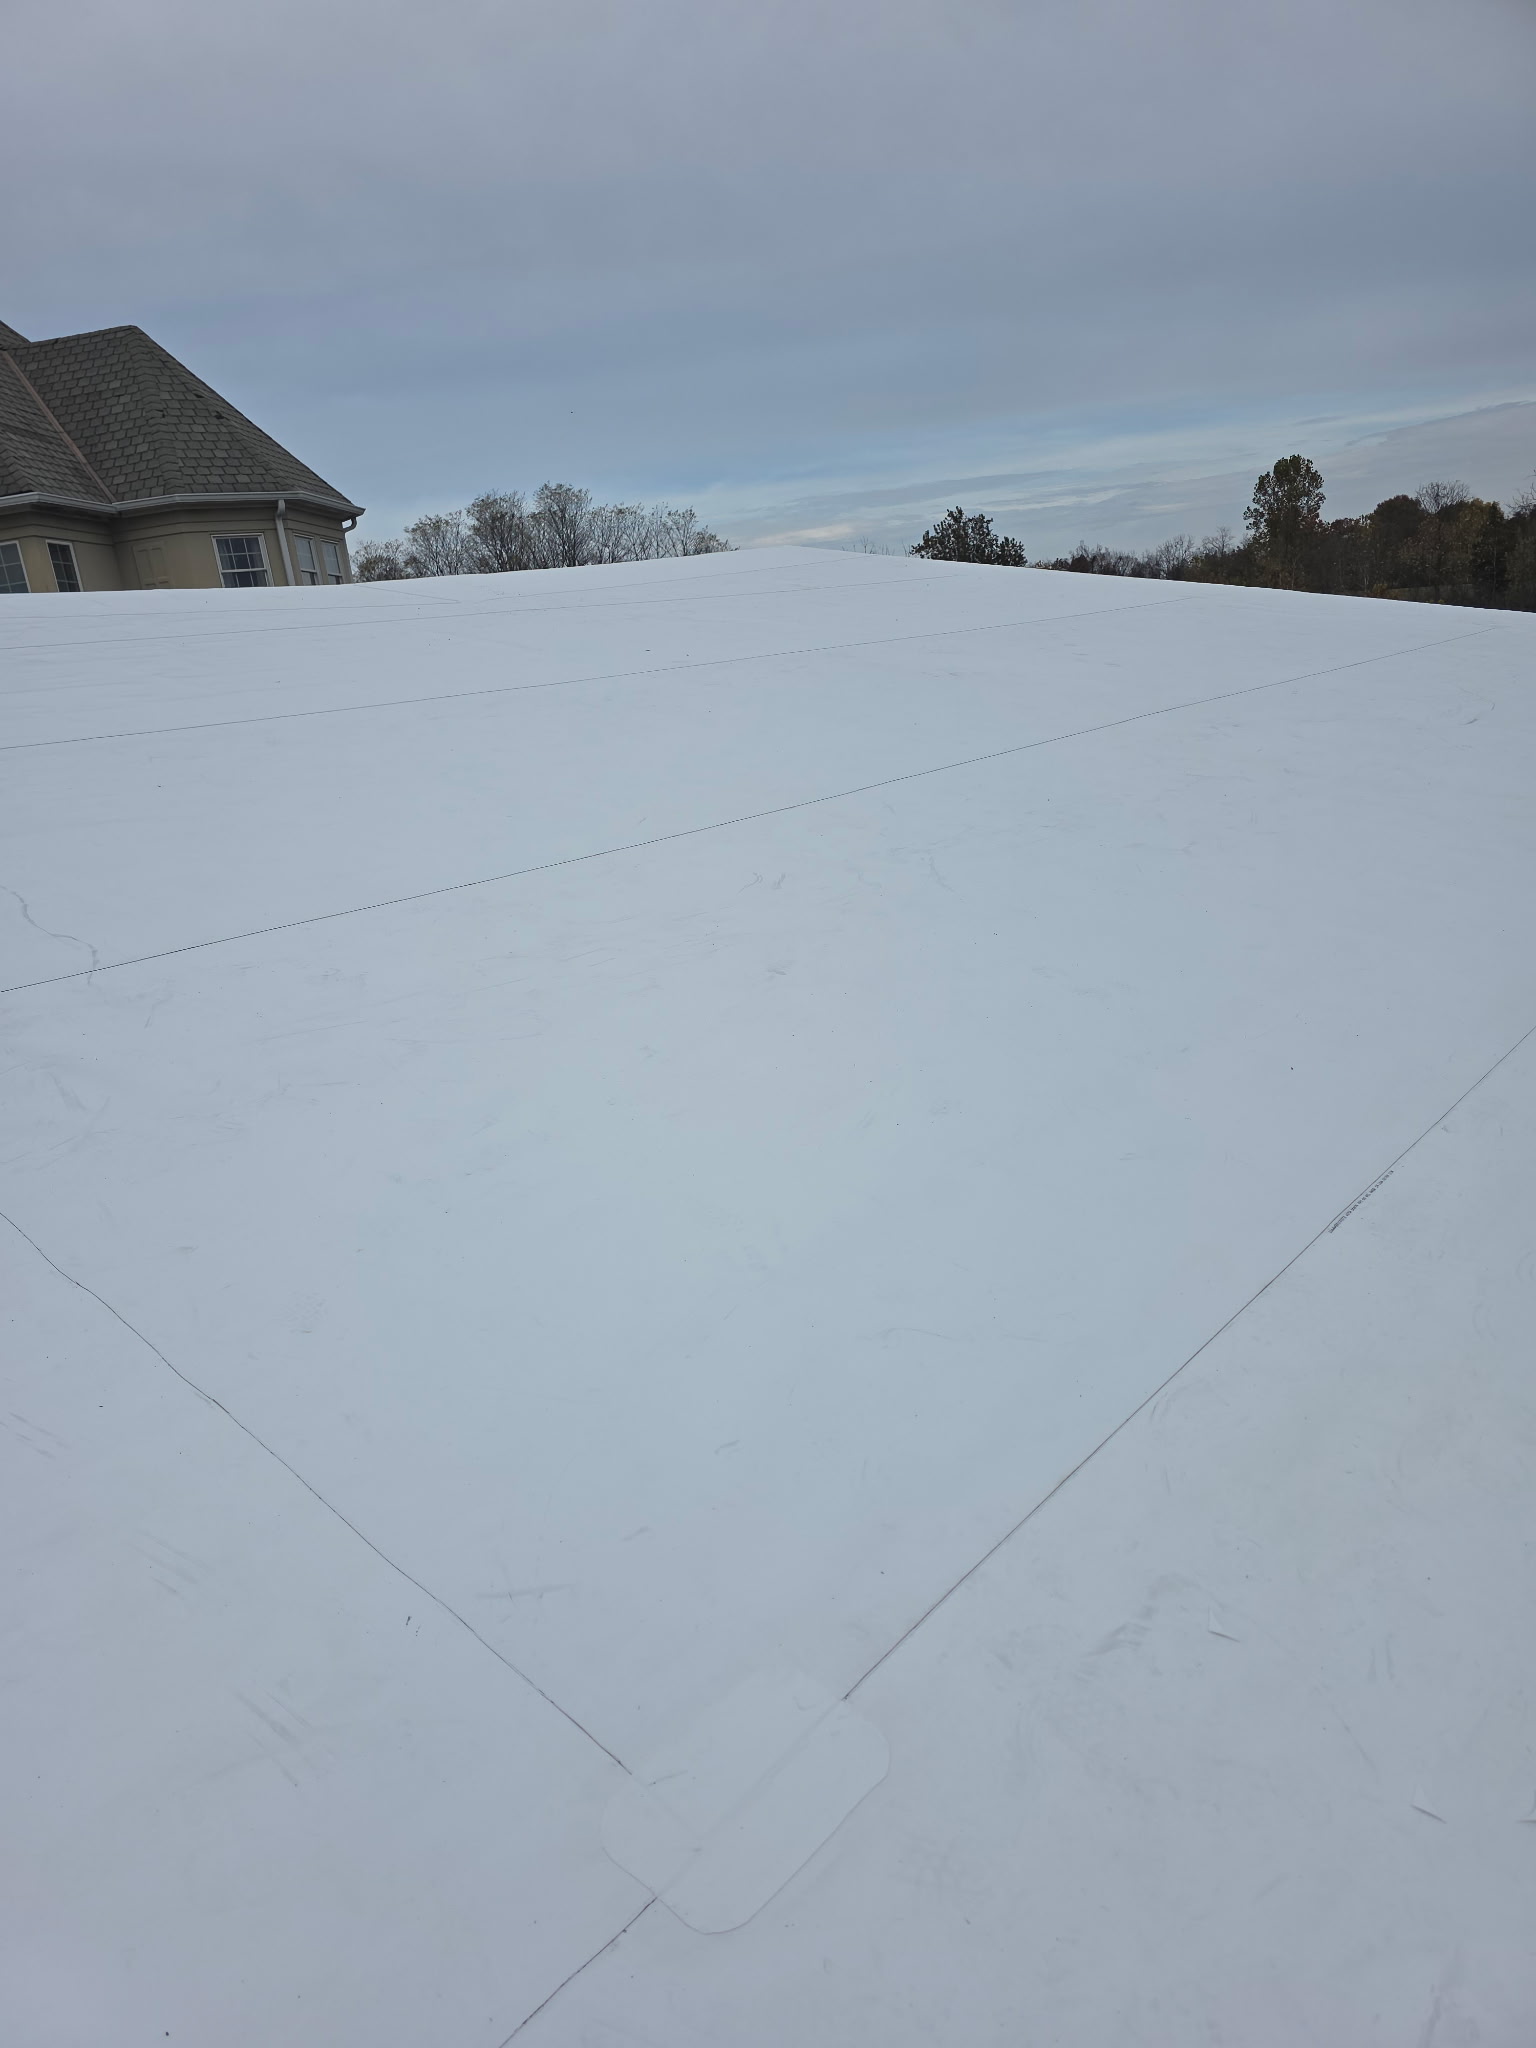
Installed TPO Surface Near Structure Transition
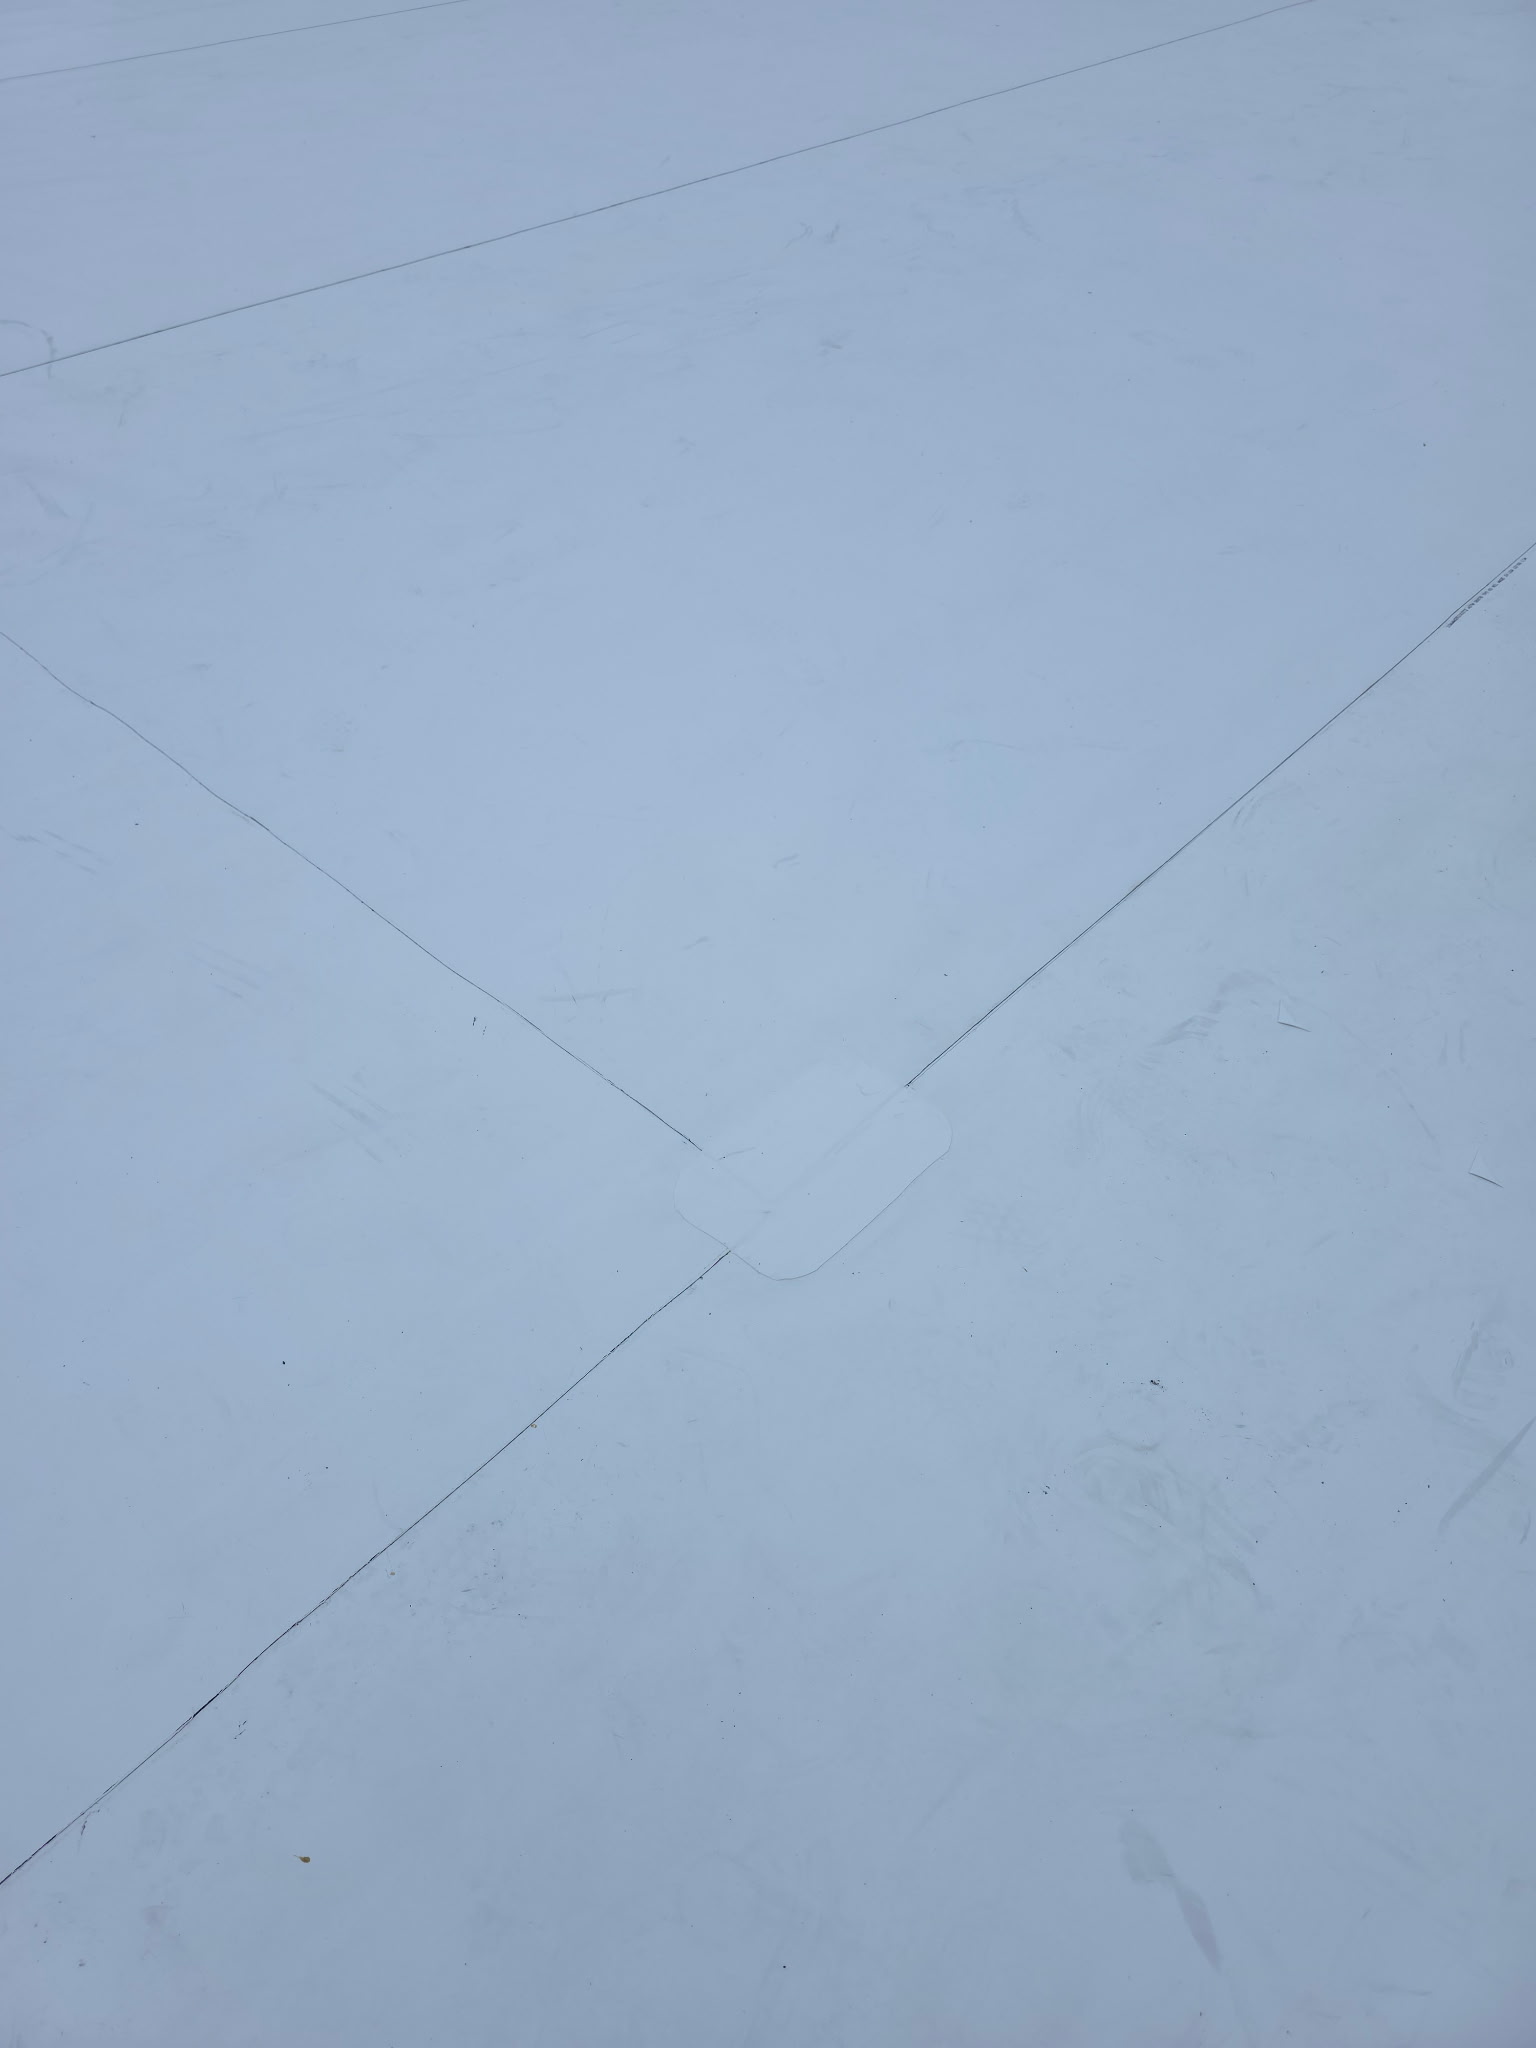
Heat-Welded Seam Detail & Reinforcement Patch
Considering TPO Roofing for Your Property?
TPO is a single-ply roofing membrane commonly used on low-slope commercial roofing systems. The appropriate roofing system depends on factors such as the existing roof assembly, drainage, building conditions, and project requirements.
If you're considering TPO roofing, a commercial roof replacement, or an evaluation of your existing roofing system, The Roofing Medic can help you discuss your options.